
Irresistible Layers Dessert Cups
What are dessert cups and why are they irresistible?
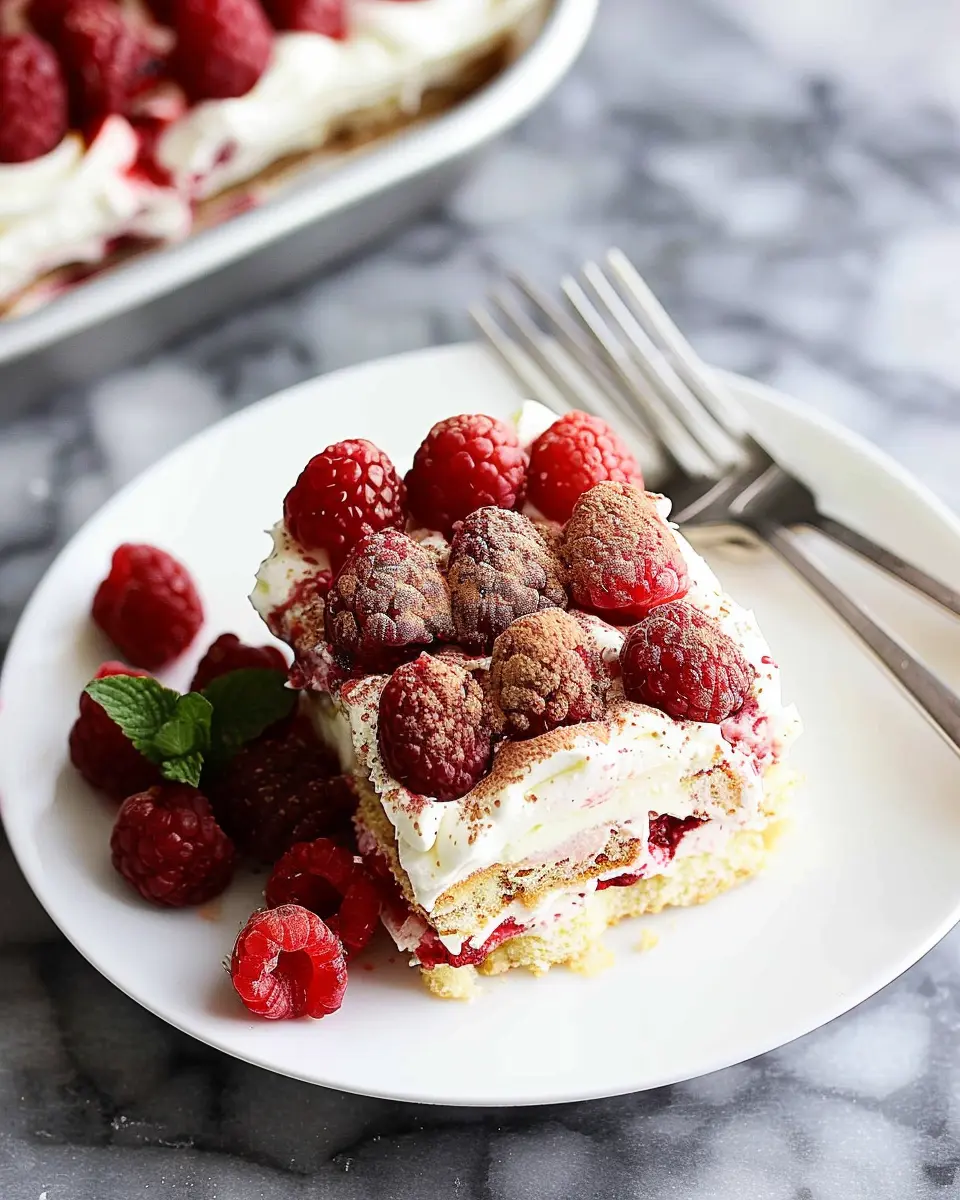
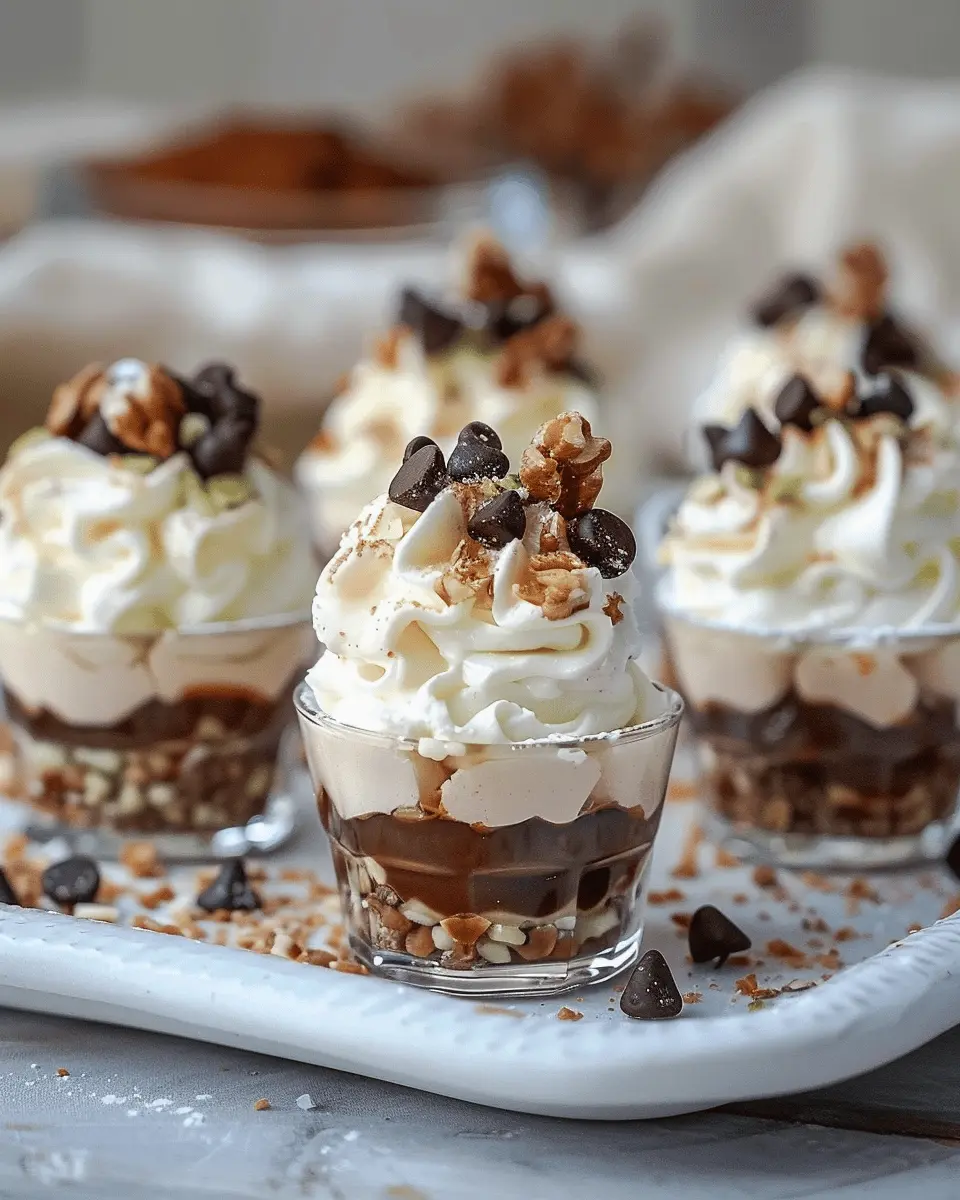
If you’ve ever found yourself enchanted by the sight of irresistible layers dessert cups, you’re not alone! These delightful little creations are the quintessential dessert savior, whether you’re hosting a dinner party or simply treating yourself after a long week.
So, what exactly are dessert cups? In essence, they are elegant, layered treats served in individual cups, showcasing a beautiful medley of flavors and textures. They often include a combination of creamy fillings, crumbly bases, and vibrant toppings, all beautifully layered for a feast for the eyes as much as for the palate.
What makes them particularly irresistible is their versatility. You can play with different ingredients, making them as light or indulgent as you like. Crushed cookies, silky pudding, fresh fruits, or even a hint of whipped cream — the combinations are endless. Plus, everyone loves that moment of suspense as they dig through the layers to discover what’s next!
A standout feature of these cups is their ability to cater to various dietary preferences. Whether you’re vegan, gluten-free, or just looking for a lower-calorie option, you can create a perfect “just-for-me” dessert. As a bonus, serving them in individual portions means no one has to share, and you can experiment with different flavor profiles for diverse guest preferences.
Sourcing quality ingredients is key. Always opt for fresh fruits and quality dairy products—these elements can significantly elevate the taste of your dessert cups. If you’re in search of inspiration, explore platforms such as AllRecipes or Food Network for ideas and variations on these joyful treats.
When it comes to presentation, take advantage of the clear cups that allow all those vibrant layers to shine through! A final sprinkle of chocolate shavings, a touch of mint, or a drizzle of syrup on top can turn a simple dessert into a show-stopping centerpiece. Trust me, your friends and family will rave about your culinary skills, and you will find yourself making these irresistible layers dessert cups again and again!
In summary, dessert cups are the perfect blend of elegance, simplicity, and creativity—truly a dessert you won’t soon forget. Grab your ingredients and get ready to impress!
Ingredients for Irresistible Layers Dessert Cups
Common Ingredients for Various Layer Options
Creating irresistible layers dessert cups starts with choosing the right base ingredients. Here’s what you’ll typically need:
- Creamy layers: Opt for rich mascarpone cheese or velvety Greek yogurt as your creamy foundation. These provide a delightful texture and can easily be whipped into luscious fillings.
- Fruity flavors: Fresh fruits like strawberries, blueberries, and bananas bring brightness and natural sweetness. You can also consider fruit purees for an extra punch of flavor.
- Crunch factor: Crushed graham crackers or cookies (think chocolate chip or even a shortbread base) will add delightful texture. Nuts can also work wonders for a satisfying crunch.
- Sweeteners: Honey, maple syrup, or a gentle sprinkling of powdered sugar can enhance the sweetness without overpowering your layers.
Suggested Toppings and Garnishes
To elevate your irresistible layers dessert cups, consider these fun toppings:
- Whipped cream: A dollop of homemade or store-bought whipped cream adds a light, airy finish.
- Chocolate shavings: For chocoholics, sprinkle some dark or white chocolate shavings for that extra indulgence.
- Fresh herbs: A mint or basil leaf can lend an unexpected freshness and a pop of color to your presentation.
For more inspiration on layer desserts, check out this guide from Taste of Home for creative combinations that are sure to impress!
Step-by-Step Preparation of Irresistible Layers Dessert Cups
Creating irresistible layers dessert cups can be one of the most enjoyable culinary experiences! These delightful treats not only look elegant but also allow you to mix and match flavors to suit your palate. Whether you’re looking to impress guests at a gathering or want a sweet treat to enjoy at home, this guide will take you through each essential step to craft these layered delights.
Gather Your Ingredients
Before diving into the fun of assembling your dessert cups, it’s crucial to gather all your ingredients. Here’s a simple list to get you started:
- Base Layer: Choose from crushed graham crackers, Oreos, or a light sponge cake.
- Filling: Think creamy variations! Go for a no-bake cheesecake mixture, chocolate mousse, or even a delightful fruit custard.
- Toppings: Fresh fruits, whipped cream, chocolate shavings, or nuts are perfect for finishing touches.
Tip: Always select high-quality ingredients to enhance the overall flavor of your dessert cups. Want more ingredient ideas? Take a look at this ingredient guide.
Prepare Your Base Layer
The first step is to create your base layer, which provides texture and a sturdy foundation for the layers above:
-
Crust Option: If you choose to use crumbs, simply crush the chosen cookies until they resemble fine sand. Mix in melted butter for moisture and press the mixture firmly into the bottom of serving cups.
-
Sponge Cake Option: For a softer base, lightly bake a sponge cake and cut it into small squares. Place them at the bottom and drizzle a little fruit syrup to keep them moist.
Personal Tip: I love using crushed Oreos for a chocolatey base; it pairs beautifully with vanilla cheesecake filling!
Create Your Filling
Next up is the fun part—creating your filling! This layer defines the flavor profile of your irresistible layers dessert cups:
-
For a cheesecake filling, blend cream cheese with sugar, vanilla, and a bit of heavy cream until smooth. If you desire a fruity twist, add some pureed strawberries or blueberries.
-
For a mousse, whip heavy cream and fold it into melted chocolate or flavored gelatins. The light, airy texture will create a delightful contrast to your base.
Expert Insight: A study from the Journal of Culinary Science found that incorporating various textures can significantly elevate the dessert experience. So don’t hesitate to play around with fillings and flavors!
Layer Your Ingredients in Cups
Now it’s time to assemble your dessert cups! Alternate your chosen base, filling, and toppings to create beautiful layers:
- Start with a spoonful of your base layer at the bottom.
- Next, add a generous layer of filling and then a spoonful of your favorite topping. You can repeat this process until the cups are full, ending with a topping for a beautiful finish.
Note: Use clear cups to showcase those gorgeous layers—nothing says ‘wow’ like a vibrant, visually appealing dessert!
Chill and Set Before Serving
Last but not least, patience is key! Cover your assembled cups with plastic wrap and chill them in the refrigerator for at least two hours, or until the filling is set. Chilling allows the flavors to meld beautifully and brings the perfect consistency.
When you’re ready to serve, you can add any extra toppings or garnishes. A sprinkle of crushed nuts or fresh fruit can make a world of difference visually and in flavor depth.
Pro Tip: Preparing these dessert cups a day in advance allows the flavors to really develop.
With just a little effort, you can create irresistible layers dessert cups that’ll wow your friends and family. Peak their interest and keep them coming back for more!
Variations of Irresistible Layers Dessert Cups
Are you ready to explore the world of irresistible layers dessert cups? These delightful treats are as versatile as they are delicious. Whether you have a sweet tooth for classics or crave something a little different, there’s a layered cup variation to satisfy every palate. Let’s uncover a few of our favorites!
Mini Cannoli Cups
These charming cups bring the taste of traditional Italian cannoli into a convenient, sharable format. Using mini pastry shells, fill them with a rich mix of ricotta cheese, powdered sugar, and vanilla extract, then top with chocolate chips and a sprinkle of pistachios. Perfect for gatherings or a quick indulgence after dinner!
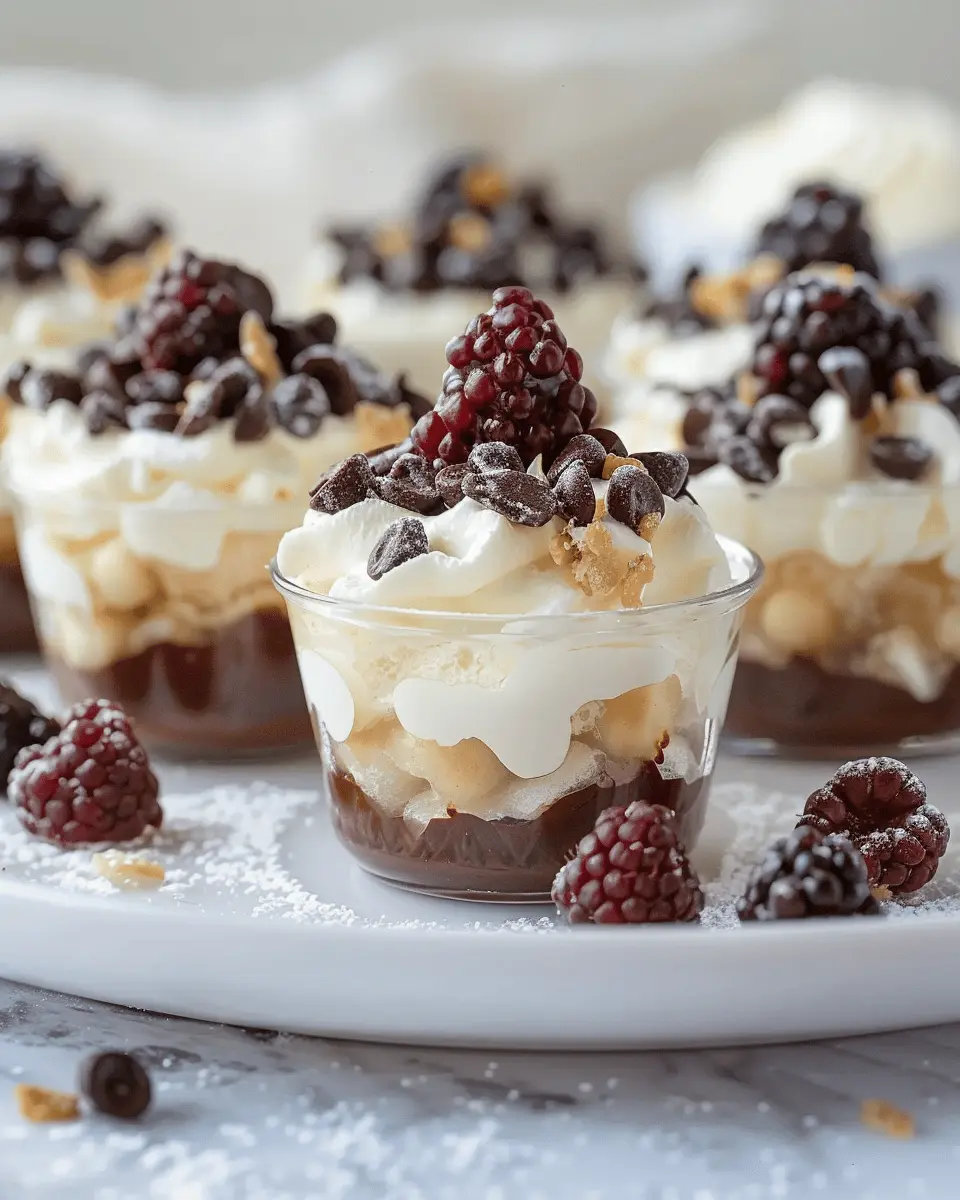
Strawberry Shortcake in a Cup
Layer fresh strawberries, fluffy whipped cream, and crumbled shortcake in a clear cup for a vibrant dessert that’s sure to impress. This combination captures the essence of summer and elevates even the simplest of meals. Did you know that strawberries are packed with vitamin C? This makes your dessert not only delicious but also nutritious!
No-Bake Lotus Biscoff Cheesecake Cups
For a creamy treat with a hint of spice, these no-bake cheesecake cups are spot on. Blend cream cheese, sugar, and crushed Biscoff cookies, then top with a dollop of whipped cream and more cookie crumbles. A true crowd-pleaser that requires minimal prep but delivers maximum flavor. Check out more no-bake ideas here.
Dirt Pudding Dessert Cups
Channel your inner child with this fun and nostalgic dessert! Layer chocolate pudding, crushed Oreos, and gummy worms for a playful presentation. These irresistible layers dessert cups are always a hit at parties and gatherings. Simple ingredients combine for a memorable experience.
Nilla Wafer Banana Pudding Cups
Classic, yet delightful, banana pudding cups layered with Nilla wafers, slices of banana, and silky vanilla pudding create a comforting dessert for all ages. Plus, they are super simple to make! With just a few layers, you can whip these up for any occasion — or just for yourself.
Each of these variations brings its own unique touch to the table, proving that dessert doesn’t have to be complicated to be irresistibly good! What will you try first?
Cooking Tips and Notes for Irresistible Layers Dessert Cups
Tips for Achieving Perfect Layers
Creating irresistible layers dessert cups is all about balance. To achieve those stunning layers:
- Use a piping bag: This helps you control the amount of each layer and maintain even distribution.
- Let each layer cool: After adding a warm component, like chocolate ganache, let it cool before adding the next layer to prevent them from blending.
- Chill between layers: A quick chill in the fridge can help solidify layers so they hold their shape.
Advice on Make-Ahead Options and Storage
Planning ahead? These dessert cups can be made a day or two in advance!
- Store them covered in the refrigerator to keep them fresh.
- Avoid adding toppings like whipped cream until just before serving for that fluffy texture.
- When storing, keep different flavor components in separate containers to maintain their unique tastes.
Suggestions for Optimal Flavor Combinations
Experimenting with different flavor combos can take your irresistible layers dessert cups to new heights.
- Fruits and creams: Try layers of berries with vanilla custard for a refreshing contrast.
- Chocolate delights: Combine dark chocolate mousse with a hint of coffee or hazelnut for a decadent treat.
- Savory-sweet: Incorporate layers of caramelized bacon (or try turkey bacon for a healthier edge) and sea salt.
For more tips on flavor pairings, consider checking out Food Network’s dessert ideas.
Serving Suggestions for Irresistible Layers Dessert Cups
Creative Presentation Ideas
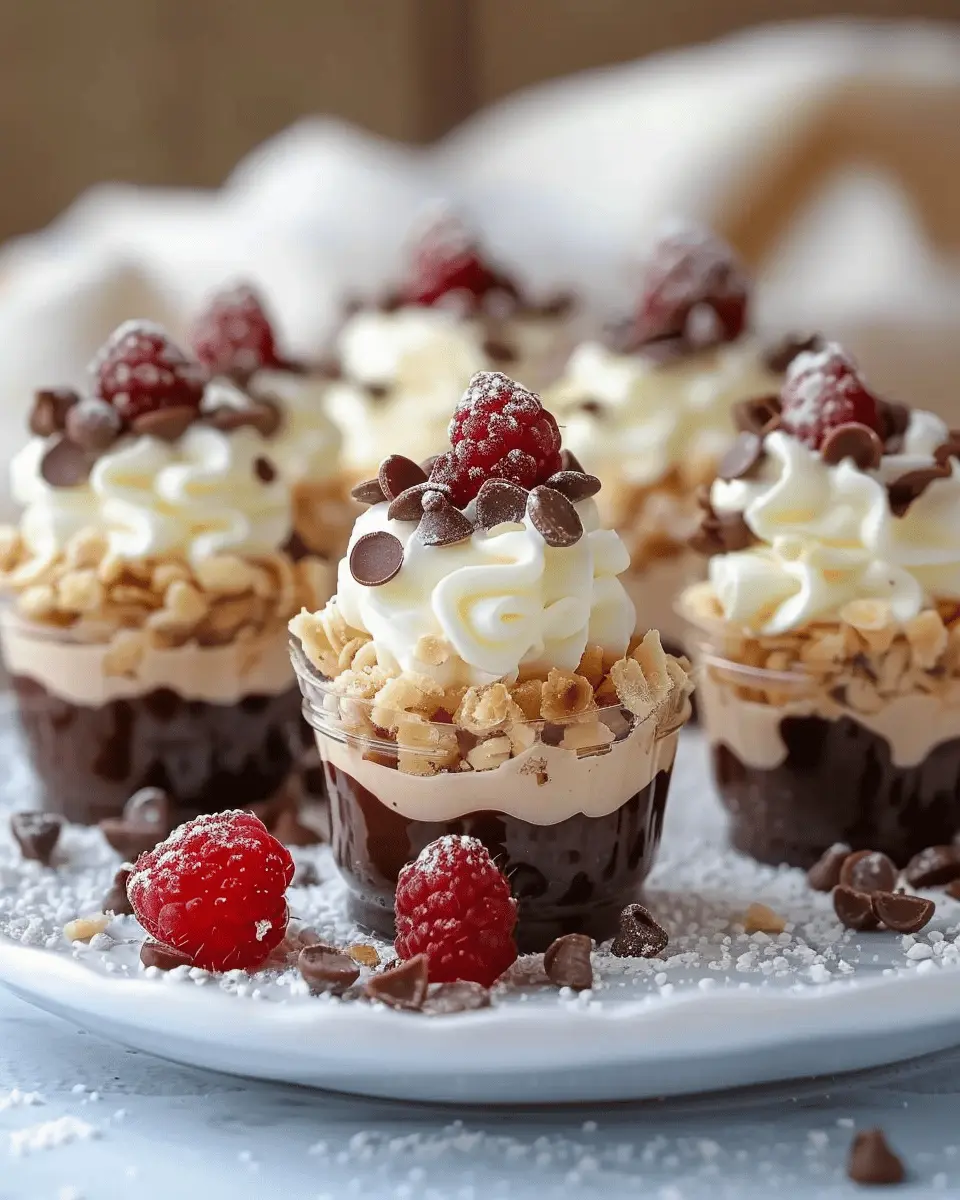
When it comes to irresistible layers dessert cups, presentation can make all the difference. Start by using clear, elegant cups or jars to showcase the vibrant layers of colors and textures. You can even personalize each cup by adding a playful touch, such as a drizzle of chocolate sauce or a sprinkle of crushed nuts on top. For a seasonal flair, consider garnishing with fresh fruits like berries or mint leaves. This not only enhances the visual appeal but also adds freshness and flavor. For an interactive twist, set up a “build-your-own” dessert station where guests can layer their cups with their favorite toppings.
Pairing with Beverages or Snacks
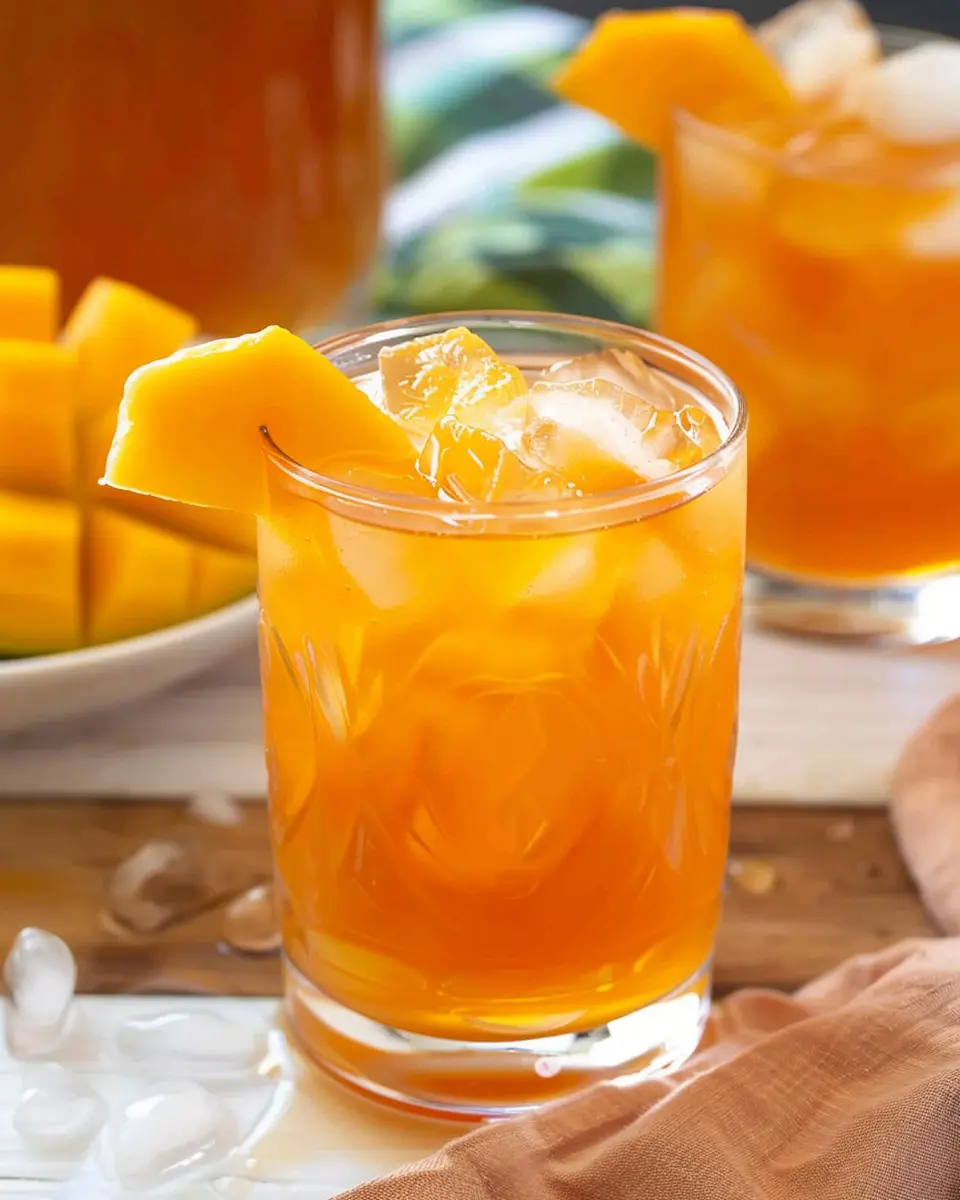
To elevate your dessert experience, think about complementary beverages or snacks that pair wonderfully with your irresistible layers dessert cups. A rich, creamy latte or a light herbal tea can be delightful choices, enhancing the dessert’s sweetness without overwhelming it. If you’re looking for something savory, light snacks like cheese platters or fresh veggies with dip can balance out the sweetness. The key is to find a harmonious balance, so guests leave satisfied and infused with pleasure rather than oversaturated. Looking for inspiration? Check out this guide on the perfect beverage pairings for desserts to spark new ideas.
With these serving suggestions, your dessert cups will not only look stunning but also taste phenomenal, creating a memorable dining experience for you and your guests.
Time Breakdown for Irresistible Layers Dessert Cups
Preparation Time
You’ll need about 15 minutes to whip up the various elements of your irresistible layers dessert cups. This includes creating the creamy layer, cutting up fruits, and crumbling any toppings you plan to use. It’s a quick process that lets you enjoy the fun of being in the kitchen without taking up your entire afternoon!
Chilling Time
Patience is key! After assembling your dessert cups, let them chill in the fridge for at least 2 hours. This step is vital as it allows the layers to meld beautifully, resulting in a refreshing treat that will impress your guests. If you’re planning ahead, you can even chill them overnight.
Total Time
When you add everything up, you’re looking at a total commitment of around 2 hours and 15 minutes. Most of that is just waiting, which means you can focus on other things! Enjoying your irresistible layers dessert cups is a breeze, and your friends will love the effort you put in.
For more tips on dessert preparation, check out Martha Stewart’s best dessert ideas. And for expert advice on food presentation, visit Food Network’s guide to plating.
Nutritional Facts for Irresistible Layers Dessert Cups
Approximate Calorie Count per Serving
When it comes to irresistible layers dessert cups, it’s essential to indulge without guilt. Each serving contains about 250 calories, making it a delightful yet manageable treat for any occasion. This means you can savor every layer!
Macronutrient Breakdown
Understanding the macronutrient profile helps when planning a balanced diet. Each serving typically includes:
- Fat: 10g
- Carbohydrates: 35g
- Protein: 5g
These simple yet rich layers deliver a satisfying combination that keeps cravings at bay.
Special Dietary Notes
Great news for dietary considerations! Our irresistible layers dessert cups are naturally gluten-free. For those with dairy concerns, consider using plant-based alternatives to the cream layer. Plus, they fit neatly into vegetarian lifestyles!
Curious about more nutritional info or dessert ideas? You can explore guidelines from the USDA or check out Healthline for additional insights.
In short, these dessert cups don’t just please the palate; they also fit into a balanced diet, making them perfect for gatherings or a cozy night in!
FAQ about Irresistible Layers Dessert Cups
What type of containers should I use?
When creating irresistible layers dessert cups, the type of container you choose can enhance both presentation and experience. Consider using:
- Clear glass cups for a beautiful display of layers
- Mason jars for a rustic vibe
- Plastic dessert cups for easy transport and outdoor gatherings
Each of these options allows you to showcase your stunning dessert layers while being practical!
How can I make dessert cups healthier?
Making your dessert cups healthier is easier than you think! Here are some quick tips:
- Substitute sweeteners: Use natural sweeteners like honey or maple syrup instead of refined sugar.
- Opt for low-fat yogurt: Swap out heavy creams for Greek yogurt; it adds creaminess without the extra calories.
- Add fruits and nuts: Incorporate fresh fruits or nuts for added fiber and nutrients. Berries, bananas, or nuts can elevate your dessert into something deliciously nutritious.
Can I use different flavors for the layers?
Absolutely! One of the best parts about these irresistible layers dessert cups is the versatility in flavors. Experiment with:
- Different pudding flavors like chocolate, vanilla, or butterscotch
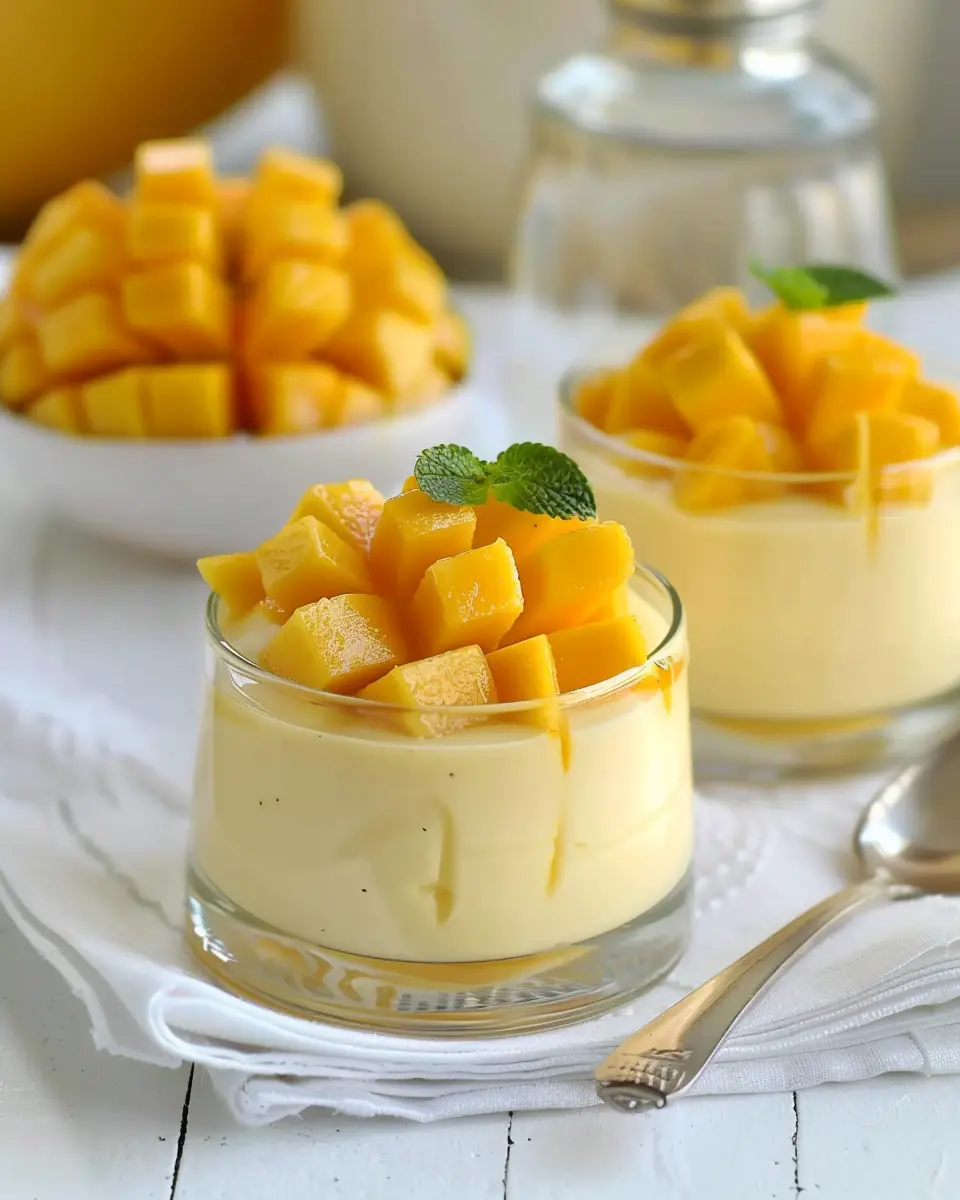
- Varieties of fruits—think mango or raspberry purées
- Flavorful sauces, such as caramel or chocolate
Mix and match to create delightful surprises in every spoonful!
How long can I store assembled dessert cups?
Assembled dessert cups can typically be stored in the refrigerator for 1 to 3 days, depending on your ingredients. If you’re using fresh fruits or whipped cream, it’s best to consume them within 24 hours for optimal freshness. For longer-lasting layers, consider storing components separately and assembling them just before serving.
For more tips on storing desserts, you might check out the National Center for Home Food Preservation. Staying informed can help make your dessert journey smoother!
Conclusion on Irresistible Layers Dessert Cups
Creating irresistible layers dessert cups is more than just following a recipe—it’s about indulging in the joy of assembling delightful layers that harmonize in both flavor and appearance. Think about how satisfying it is to craft each component, from velvety creams to vibrant fruit, all while knowing your efforts will impress anyone lucky enough to enjoy them.
As you take that first spoonful, remember the laughter and connections made around a shared dessert. Whether you’re hosting friends or treating yourself, these cups deliver a sweet sensation with every bite. For more tips on decadent dessert ideas, check out Bon Appétit or Food Network for inspiration. Happy layering!
Print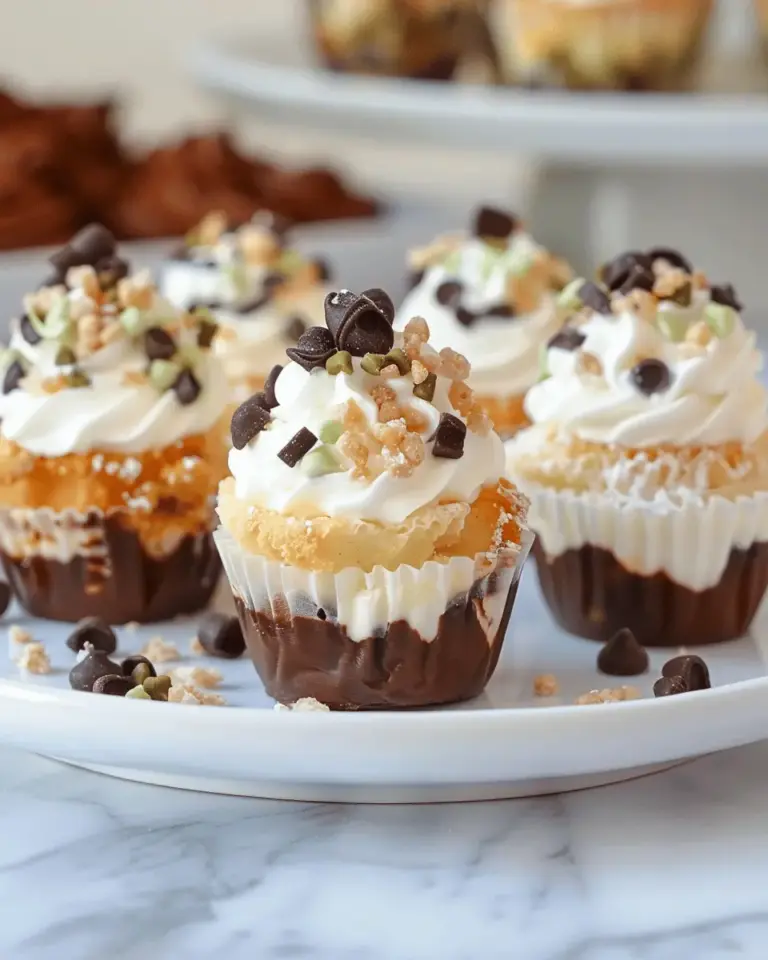
Irresistible Layers Dessert Cups: Easy Indulgence for Every Occasion
Indulge in these gorgeous dessert cups that feature irresistible layers, perfect for any occasion.
- Total Time: 1 hour 15 minutes
- Yield: 4 servings 1x
Ingredients
- 1 cup heavy cream
- 1/2 cup powdered sugar
- 1 teaspoon vanilla extract
- 1 cup chocolate pudding
- 1 cup crushed cookies
- 1/2 cup fresh berries
Instructions
- In a bowl, whip heavy cream with powdered sugar and vanilla extract until soft peaks form.
- In serving cups, alternate layers of chocolate pudding, whipped cream, crushed cookies, and fresh berries.
- Repeat layers until cups are full.
- Top with additional whipped cream and berries.
- Chill in the refrigerator for at least 1 hour before serving.
Notes
- For a unique flavor, consider adding a layer of fruit puree.
- Experiment with different types of cookies for added taste.
- Prep Time: 15 minutes
- Cook Time: 0 minutes
- Category: Dessert
- Method: No-bake
- Cuisine: American
- Diet: Vegetarian
Nutrition
- Serving Size: 1 cup
- Calories: 350
- Sugar: 25g
- Sodium: 200mg
- Fat: 22g
- Saturated Fat: 14g
- Unsaturated Fat: 6g
- Trans Fat: 0g
- Carbohydrates: 30g
- Fiber: 1g
- Protein: 4g
- Cholesterol: 70mg
Keywords: dessert, layered cups, easy recipes, indulgence