
Introduction to Ice Cream Cake
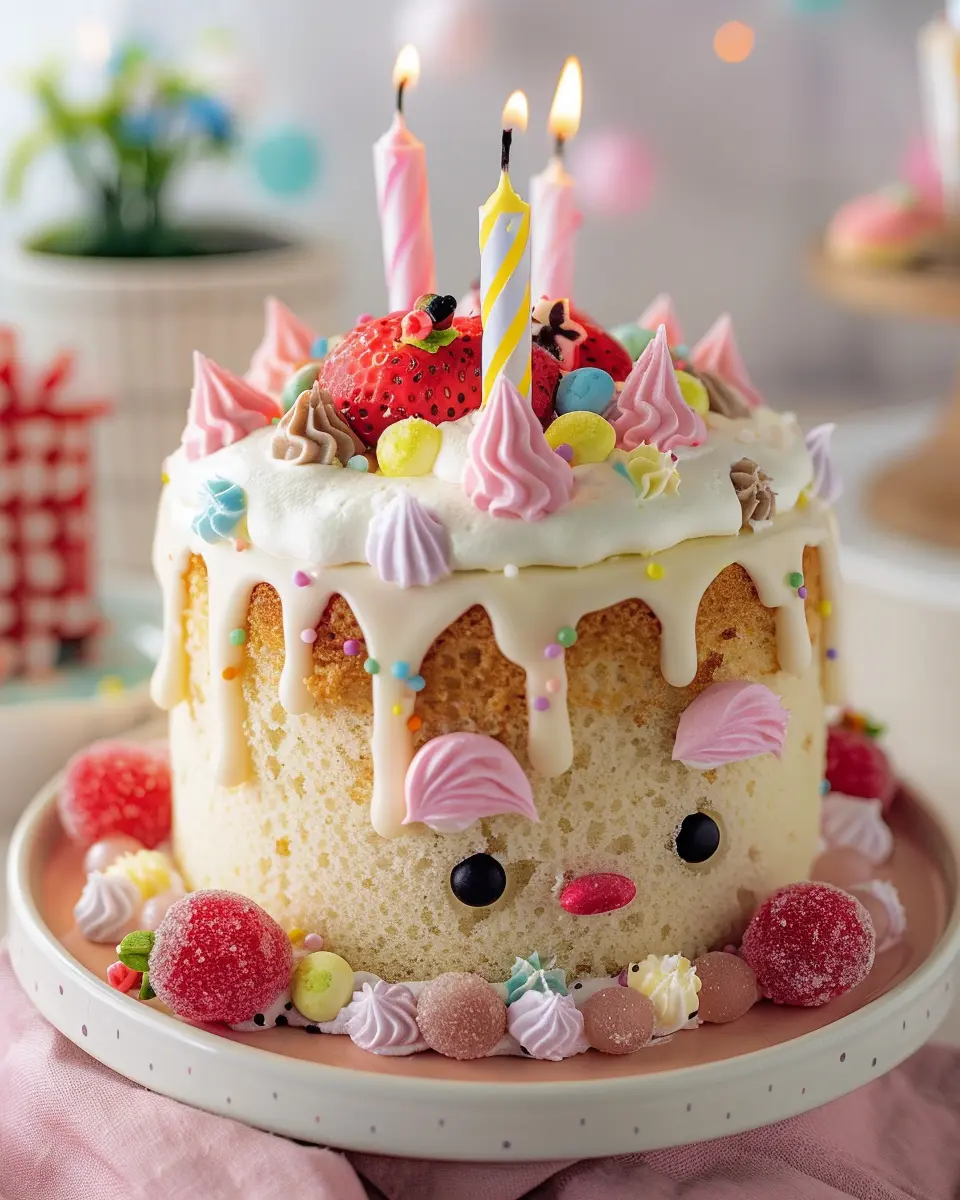
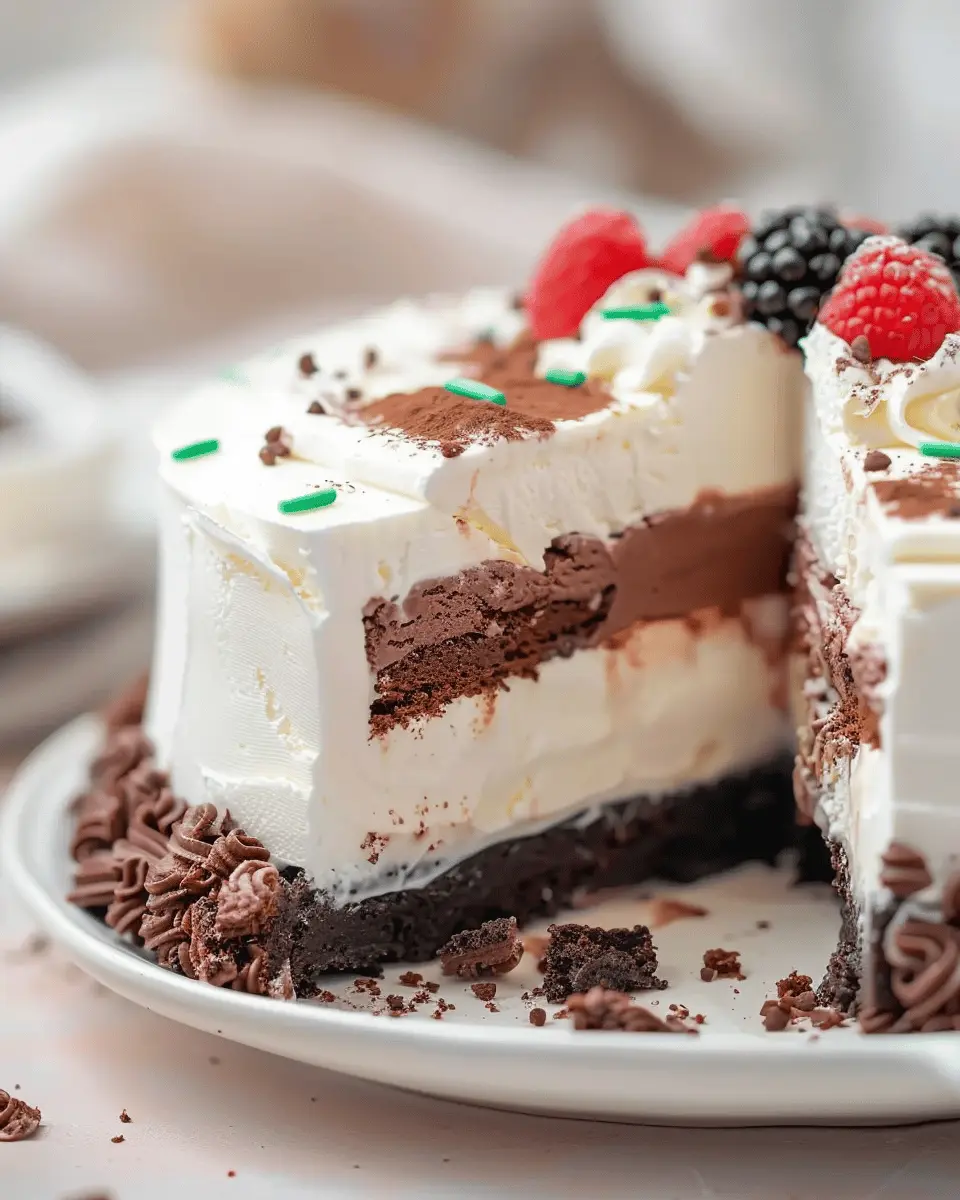
When it comes to desserts that blend whimsy and indulgence, nothing quite tops an ice cream cake. Think about it: layers of creamy ice cream, fluffy cake, and delightful toppings all coming together in one delicious slice. It’s the ultimate treat perfect for birthdays, special occasions, or even just a casual weekend get-together.
Why Ice Cream Cake is the Ultimate Treat
So why does ice cream cake hold a special place in our hearts? Let’s break it down:
-
Fabulous Flavor Combinations: The beauty of an ice cream cake lies in its versatility. You can mix and match flavors—chocolate cake with mint chocolate chip ice cream, or vanilla cake with fruity sorbet. Your imagination is the limit! The ice cream cake allows us to have our cake and eat it too, literally!
-
Textures That Delight: Think about the contrast between soft cake, cold ice cream, and a crunchy topping. With every bite, you’ll experience a symphony of textures that keeps your taste buds coming back for more. Crunchy cookie crumbs, airy whipped cream, or even fruity toppings can elevate your cake to a whole new level!
-
Easy to Customize: Whether you’re gluten-free, dairy-free, or simply have a preference, customizing an ice cream cake to suit your dietary needs is relatively easy. Plus, DIY cakes are a fantastic way to express your personal style. Want to jazz it up? You can add sprinkles, fruit, or even layers of fudge in between.
-
Perfect for Sharing: Ice cream cakes are a crowd-pleaser. If you’re hosting a gathering, serving up slices can become the highlight of the night. You can impress your friends with a homemade cake or grab one from your favorite local shop—either way, you’re guaranteed smiling faces.
For some expert tips on creating the perfect ice cream cake, check out resources from renowned baking blogs like Taste of Home or King Arthur Baking. Armed with inspiration and ideas, you’re ready to dive into the sweet world of ice cream cakes. Celebrate life’s moments, big or small, with this delightful treat that never fails to bring joy!
Ingredients for Ice Cream Cake
Creating the perfect ice cream cake is not just about the delightful layering of flavors; it’s also about having the right ingredients on hand. Let’s dive into the essentials that will make your cake a standout treat at any celebration!
List of Essential Ingredients
To whip up the ultimate ice cream cake, you’ll need:
- Ice Cream: Choose your favorite flavor or mix and match (2-3 tubs).
- Cake Layers: Bake or buy your preferred cake, like a rich chocolate or vanilla sponge.
- Frosting: A tub of whipped cream or buttercream adds texture and sweetness.
- Garnishes: Sprinkles, crushed cookies, or your choice of fruit for a colorful finish.
- Take Your Pick: Optional add-ins like chocolate chips or caramel sauce can elevate your creation.
- Pan: A springform pan or a standard cake tin to hold all those delicious layers.
Having these ingredients ready will help you create an impressive and delectable dessert. For tips on ice cream selections, check out this guide on choosing ice cream from a leading ice cream vendor!
With these foundational elements, you’re well on your way to making a delightful ice cream cake that’s sure to impress family and friends. Want to explore some creative combinations? Keep reading!
Preparing Ice Cream Cake
An ice cream cake is more than just dessert; it’s a celebration on a plate. As you gear up for this delicious creation, let’s ensure your journey is as sweet as the end result. Ready? Let’s dive in!
Gather Your Equipment and Ingredients
Before getting started, it’s essential to have everything in place. You don’t want to discover halfway through that you’re missing a crucial component. Here’s what you’ll need:
Equipment:
- Springform pan (9-inch)
- Mixing bowls
- Whisk or hand mixer
- Rubber spatula
- Measuring cups and spoons
Ingredients:
- 4 cups chocolate ice cream (softened)
- 1 package Oreos (crushed)
- 1/2 cup unsalted butter (melted)
- 1 cup fudge sauce
- 4 cups vanilla ice cream (softened)
- 2 cups heavy cream
- 1/4 cup powdered sugar
- Chocolate curls or sprinkles (for decoration)
Create the Chocolate Ice Cream Layer
Start by spreading a layer of softened chocolate ice cream at the bottom of your springform pan. Use a spatula to ensure it’s evenly packed, and pop it in the freezer for about 30 minutes to set. This layer is where the magic begins; it sets the stage for the delicious layers to follow.
Prepare the Oreo Crunchies
While your chocolate layer is freezing, let’s get to those mouthwatering Oreo crunchies. Simply crush the Oreos into small pieces and mix them with melted butter until well combined. This mix will provide a delightful crunch to your ice cream cake, contrasting perfectly with the creaminess of the ice cream layers. Take a moment to admire how deliciously crumbly they look!
Make the Fudge Layer
Next up? The rich fudge layer! Heat up your fudge sauce in the microwave for about 15-20 seconds until it’s smooth and pourable, but not boiling. Allow it to cool slightly before proceeding. The warm fudge will create a beautiful layer in your ice cream cake, adding a delectable sweetness that’s hard to resist.
Layer the Fudge and Crunchy Mix
Once the chocolate layer is set, pour half of the cooled fudge sauce over it, spreading it evenly with a spatula. Toss in the Oreo crunchies and gently press them down so they infuse their deliciousness into the fudge. It’s like creating a secret treasure within your ice cream cake.
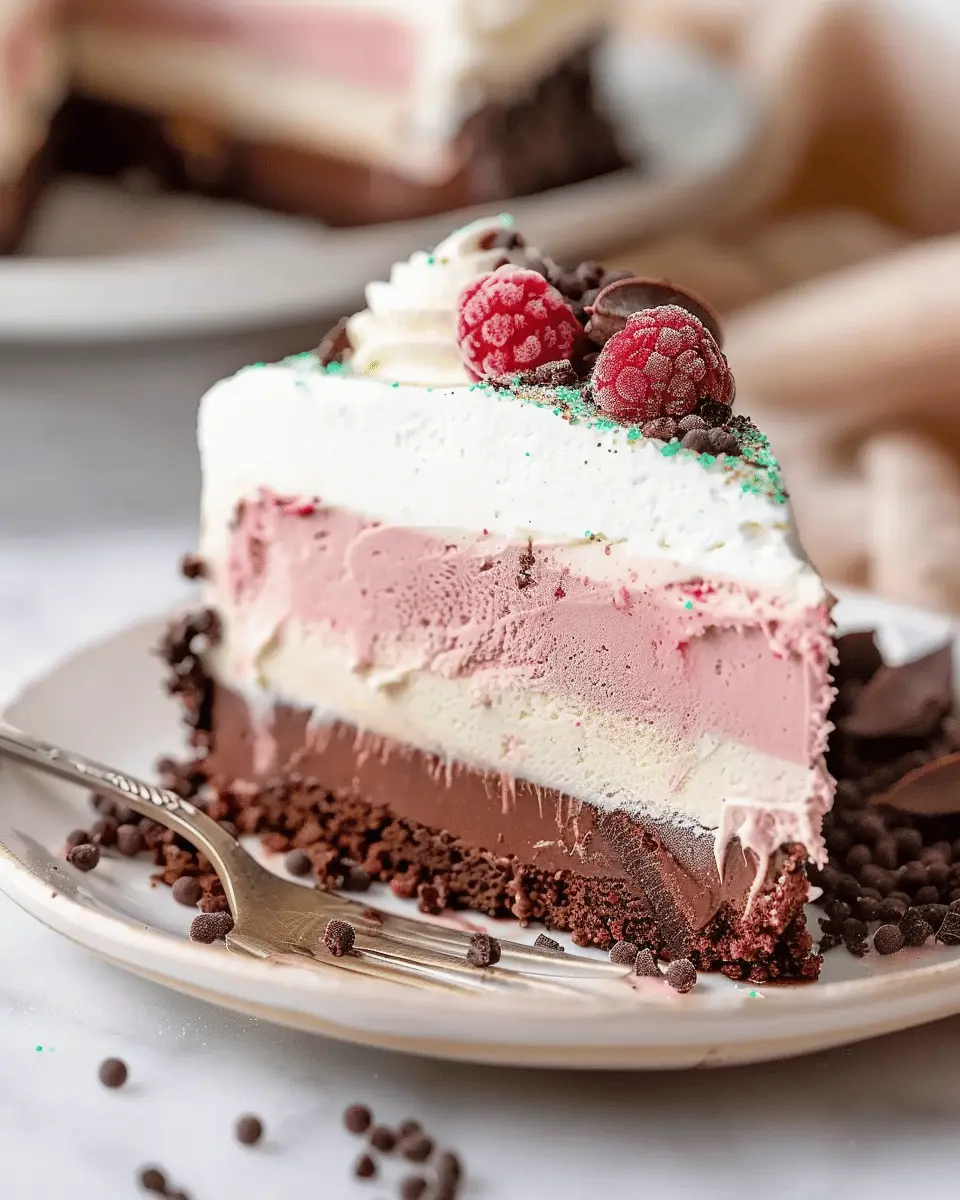
Add the Vanilla Ice Cream Layer
After that wonderful creation, it’s time to add the vanilla ice cream layer. Spread the softened vanilla ice cream over the crunchy fudge mix and smooth it out with your spatula. For an extra touch, you could marble some leftover fudge into the vanilla layer if you’re feeling adventurous! Freeze this layer for another 30-45 minutes.
Whip Up the Cream Frosting
Let’s create a light and fluffy frosting to adorn our cake! Whip the heavy cream in a mixing bowl until you get soft peaks. Gradually add powdered sugar and continue to whip until stiff peaks form. This cream will elevate your ice cream cake to another level with its airy texture.
Unmold the Cake Carefully
Once your cake layers have frozen solid, it’s time to reveal your creation! Gently release the sides of the springform pan. If it’s a little stubborn, running a knife around the edges usually does the trick. Take a moment to appreciate your masterpiece—it’s finally taking shape!
Frost and Decorate the Cake
Now comes the fun part: frosting! Spread the whipped cream evenly over the top and sides of your ice cream cake. Don’t stress over perfection; a rustic look can be equally charming! Get creative with sprinkles, chocolate curls, or even additional crushed Oreos for decoration.
Freeze Before Serving
Finally, freeze your decadent dessert for at least an hour to allow everything to set firmly. This step is crucial—trust us; it’s worth the wait!
Creating an ice cream cake may seem daunting, but with these straightforward steps, you’ll be rewarded with a delightful treat that’s perfect for any occasion. For additional tips and tricks, you might check out The Kitchn or Serious Eats for expert insights and ideas. Happy baking!
Variations on Ice Cream Cake
Ice cream cake is a delightful canvas for creativity, allowing you to mix and match flavors and textures to suit any occasion. Let’s explore two crowd-pleasing variations that are sure to impress your friends and family.
Chocolate and Peanut Butter Ice Cream Cake
If you’re a fan of the classic chocolate and peanut butter combination, this variation is a must-try. Start with a layer of rich chocolate ice cream as your base, and then create a luscious peanut butter swirl. Here are some simple tips for crafting this delicious dessert:
- Layering: Alternate between chocolate and peanut butter ice cream layers for a beautiful marbled effect.
- Crunch Factor: Add chopped peanuts or crushed chocolate cookies between ice cream layers for extra texture.
- Toppings: Drizzle with chocolate syrup and sprinkle with crushed peanut butter cups before serving.
This decadent blend will have everyone reaching for seconds!
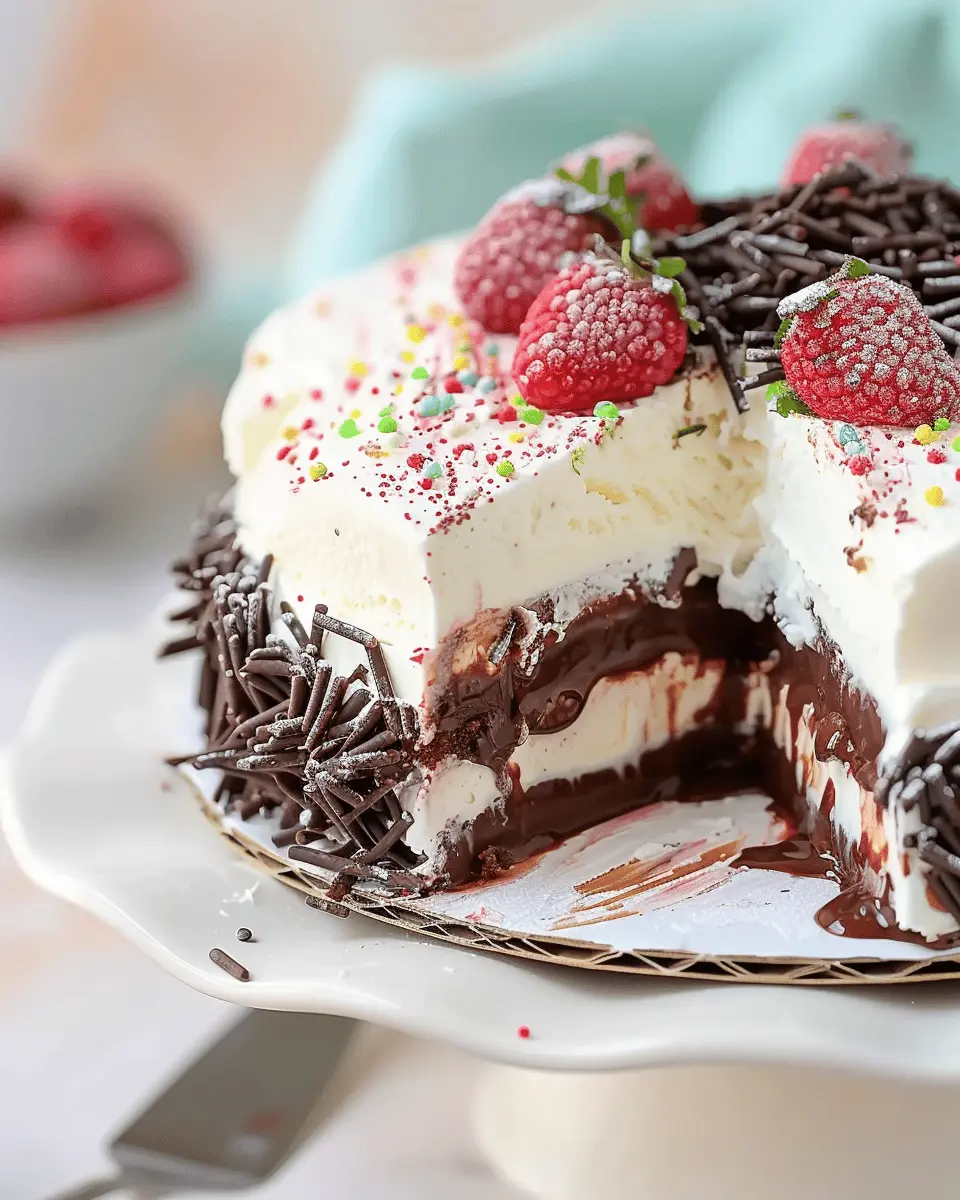
Fruit-Flavored Ice Cream Cake
For a lighter, more refreshing option, consider a fruit-flavored ice cream cake. Perfect for warm months or spring celebrations, this version brings vibrant flavors that brighten any gathering. Here’s how to make it shine:
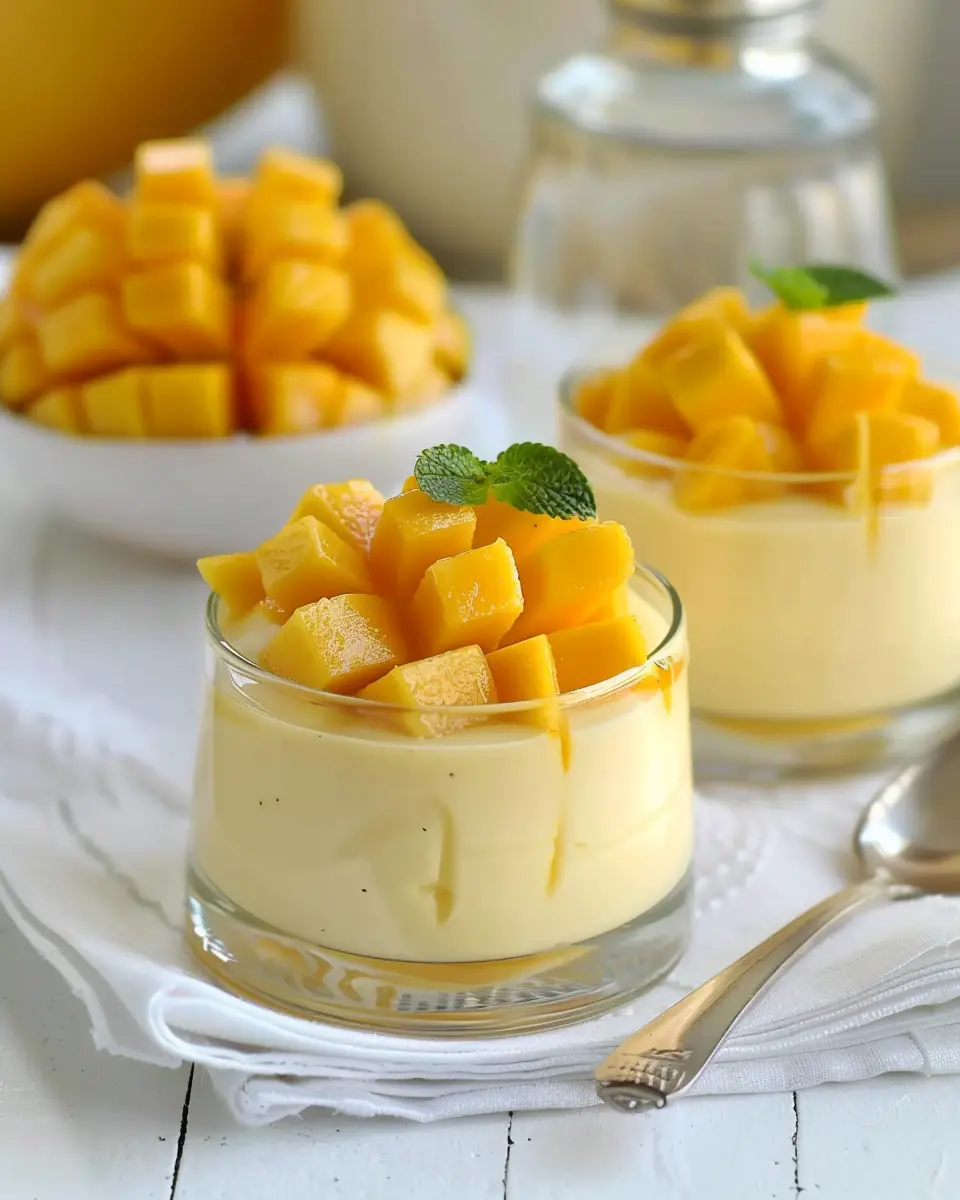
- Choose Your Fruit: Try using strawberry, mango, or lemon flavored ice cream for a zesty experience.
- Fresh Fruit Layers: Incorporate layers of fresh fruit like sliced strawberries, blueberries, or mango chunks between the ice cream layers for added freshness.
- Garnish: Top it off with whipped cream and a sprinkle of coconut flakes or nuts for a delightful finishing touch.
With these variations, your ice cream cake is not just a dessert; it’s an experience! For more inspiration, check out this guide on flavor combinations that can take your creativity even further.
Baking Notes for Ice Cream Cake
Tips for Perfect Layering
Creating an impeccable ice cream cake is all about mastering your layers. Start by ensuring your cake layers are completely cool before adding any ice cream. This helps maintain the structure and prevents melting. Use a springform pan to allow easy removal once the cake is set. When adding ice cream, soften it slightly so that it’s spreadable. Consider mixing in sprinkles or crushed cookies for added texture. Remember to freeze each layer for at least 30 minutes before adding the next; this will keep your cake beautifully defined.
Storing Your Ice Cream Cake
Proper storage is crucial to keeping your ice cream cake tasting fresh. Wrap it tightly in plastic wrap and then in aluminum foil to prevent freezer burn. For optimal taste and texture, enjoy your cake within two weeks of preparation. If you’re looking for a guide on maintaining the best quality for frozen desserts, check out Food Safety for more insights. When you’re ready to indulge, let your cake sit at room temperature for about 10 minutes before slicing. This makes for easier cutting and enhances the flavors!
Serving suggestions for Ice Cream Cake
Best accompaniments for your cake
When it comes to enjoying your ice cream cake, the right accompaniments can elevate the experience. Consider pairing your slice with:
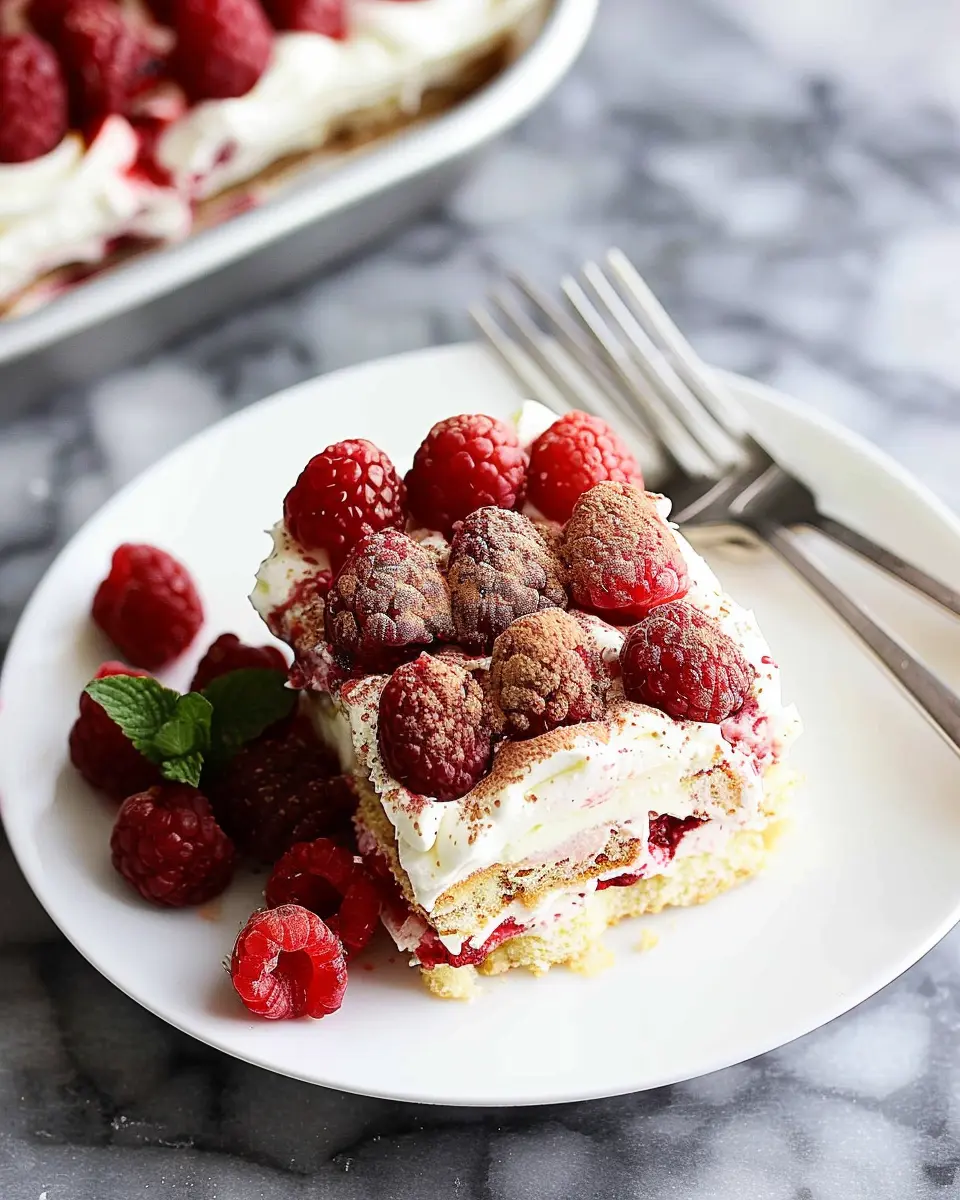
- Fresh Berries: Strawberries or raspberries add a delightful tartness that complements the sweetness of the cake.
- Whipped Cream: A dollop of homemade whipped cream can bring creaminess that balances the layered textures.
- Chocolate or Caramel Sauce: Drizzling some rich sauce over your slice will create a lovely contrast and extra indulgence.
Looking for more inspiration? Check out The Spruce Eats for some fantastic dessert pairing ideas.
Creative serving ideas
Get inventive with how you serve your ice cream cake!
- Layered Presentation: Slice the cake into cubes and layer them in a parfait glass with your favorite toppings. It’s a fun way to showcase those beautiful layers.
- Mini Cake Pops: Use leftover cake pieces to create bite-sized treats by dipping them in chocolate and placing them on sticks. Perfect for parties!
- Family Dessert Bar: Set up a serving station where guests can add their own toppings, like crushed nuts, sprinkles, or even crushed cookies. Interactive desserts make gatherings extra fun!
These creative serving suggestions not only enhance the experience but invite everyone to get involved – and who doesn’t want that?
Tips for Making Perfect Ice Cream Cake
Creating a delicious ice cream cake is a delightful challenge. Here are some tips to ensure your cake is a showstopper at your next gathering.
Temperature Recommendations
Getting the temperatures right is crucial. Start by letting your ice cream sit out for about 10-15 minutes before you begin layering. This slight soften makes it easier to spread. Additionally, keep your cake layers in the freezer for at least a few hours after assembling them. A chilled cake is easier to slice and serve!
Avoiding Common Pitfalls
To avoid common mistakes when making your ice cream cake, keep these points in mind:
- Layering: If you use chocolate or cookie layers, ensure that they are firm and well-chilled to prevent them from mixing into the ice cream.
- Garnish Wisely: Avoid heavy toppings that can overpower the light texture of ice cream. Consider using fresh fruit or whipped cream for a delightful contrast.
- Timing: Don’t rush the freezing process. An ice cream cake should freeze for a minimum of 6 hours before serving. This ensures that every slice holds its shape beautifully.
Remember, practice makes perfect! Don’t get discouraged if your first attempt isn’t perfect; take it as a delicious learning experience. For additional tips and tricks, check out this guide from Bon Appétit on making the most of your most refreshing desserts! Happy baking!
Time details for Ice Cream Cake
Prep time
Making your ice cream cake is a breeze! You’ll need about 20-30 minutes to gather your ingredients, assemble the layers, and prep the pan. It’s the perfect time to put on some music and get creative in the kitchen.
Chill time
Patience is key here. After prepping your cake, you’ll want to chill it for 4-6 hours, or even overnight if you can. This step is vital for achieving that perfect texture—trust me, it’s worth it!
Total time
In total, you’re looking at around 4-6 hours, including prep and chill time. So, plan accordingly—some things are best enjoyed after a little wait!
For some extra tips on timing and serving suggestions, check out resources like Food Network or Serious Eats for professional advice on baking and desserts.
Nutritional Information for Ice Cream Cake
When you dive into a delicious ice cream cake, it’s essential to know what you’re treating yourself to—after all, knowledge is power! Here’s a quick breakdown:
Calories
A standard slice of ice cream cake ranges from 250 to 400 calories, depending on ingredients and portion size. While it’s a delightful dessert, moderation is key!
Fat Content
Typically, you can expect around 10 to 20 grams of fat per slice. The creaminess of the ice cream and cake layers contributes to this, so if you’re watching your fat intake, consider smaller slices or lighter versions.
Sugar Levels
With sweet layers of frosting, the sugar content can be quite high, averaging between 20 to 30 grams per slice. If you’re looking for alternatives, consider using healthier sweeteners or lower-sugar ice creams.
Understanding this nutritional information can help you enjoy your ice cream cake guilt-free! For more details on smarter dessert choices, check out Nutrition.gov for tips and guidelines.
FAQs about Ice Cream Cake
When diving into the delightful world of ice cream cake, it’s natural to have a few questions. Let’s clear up some common queries!
Can I use store-bought ice cream?
Absolutely! Store-bought ice cream is a fantastic option for your ice cream cake. It saves time and often comes in various flavors, making it easy to customize your cake. Just choose a flavor that complements your cake’s base. For example, if you’re using chocolate cake, vanilla or mint chip ice cream can create a delightful contrast. If you’re looking for ideas, check out some popular ice cream flavors here.
How do I store leftovers?
If you manage to have leftovers (which is rare!), storing your ice cream cake properly is key. Cover it with plastic wrap or aluminum foil and place it in the freezer. This keeps it fresh and ready for your next craving! Just remember to let it sit at room temperature for a few minutes before serving again, as this makes slicing easier.
What alternatives can I use for allergenic ingredients?
Allergies shouldn’t stand in the way of enjoying a delicious ice cream cake. There are plenty of substitutes you can use for common allergens:
- Dairy-Free: Use plant-based ice cream or coconut cream for a creamy texture.
- Gluten-Free: Choose gluten-free cakes or even make a crust using gluten-free cookies.
- Nut-Free: Opt for nut-free ice cream brands to cater to those with nut allergies.
Explore brands with allergy-friendly options here. Don’t hesitate to get creative! Your ice cream cake can be as unique as your taste.
Feel free to ask more questions or share your own tips in the comments!
Conclusion on Ice Cream Cake
Final thoughts on crafting your perfect ice cream cake
Creating the perfect ice cream cake is all about embracing creativity and personal taste. Whether you opt for a rich chocolate base or a refreshing fruit layer, don’t hesitate to experiment with flavors and textures. Think about incorporating your favorite toppings, like crushed cookies or fresh fruit, to truly make it your own.
Remember, preparation and patience will yield sweet rewards, so take your time when assembling. Don’t forget to check out The Ice Cream Makers for tips on choosing the best ice cream flavors! Lastly, share your delightful creations with friends and family—they’ll be just as excited to dig in as you are!
Print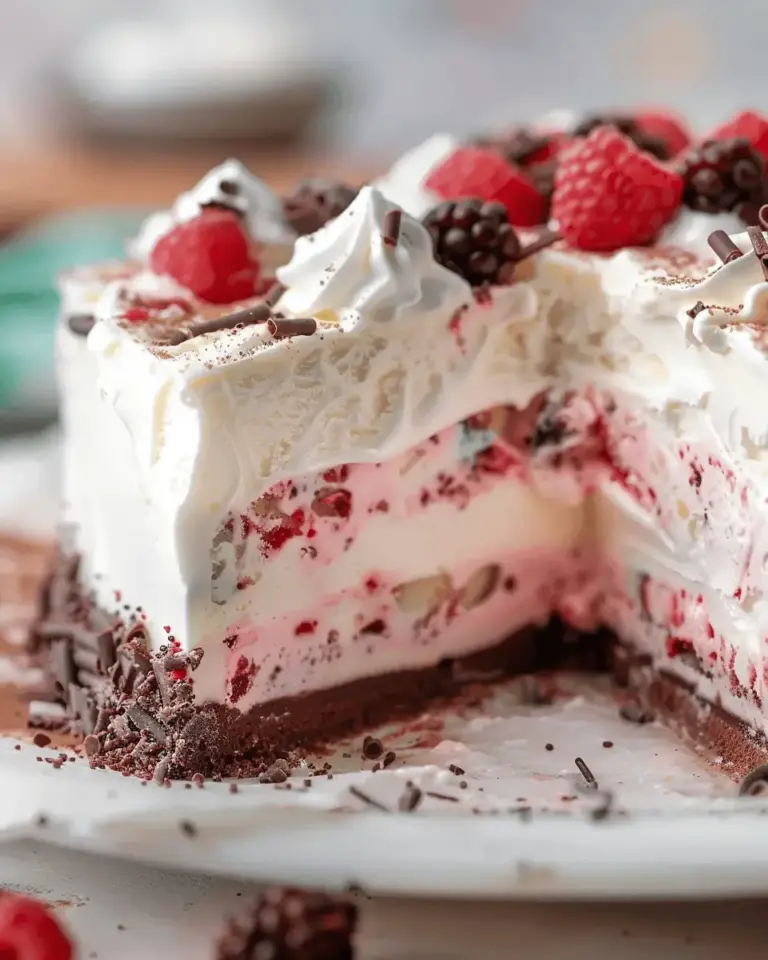
Ice Cream Cake Delight: Indulge in a Homemade Treat
Indulge in a creamy, delicious ice cream cake that you can make at home with simple ingredients and easy-to-follow steps.
- Total Time: 4 hours 30 minutes
- Yield: 8 servings 1x
Ingredients
- 2 cups whipped cream
- 1 cup chocolate syrup
- 1 cup crushed cookies
- 3 cups your favorite ice cream
- 1 cup sprinkles
Instructions
- Layer the whipped cream in a springform pan.
- Drizzle chocolate syrup over the whipped cream.
- Add a layer of crushed cookies.
- Scoop a layer of ice cream on top.
- Repeat layers until all ingredients are used.
- Top with sprinkles.
- Freeze for at least 4 hours before serving.
Notes
- For best results, use high-quality ice cream.
- Let the cake sit at room temperature for a few minutes before slicing.
- Prep Time: 30 minutes
- Category: Dessert
- Method: No-Bake
- Cuisine: American
- Diet: Vegetarian
Nutrition
- Serving Size: 1 slice
- Calories: 350
- Sugar: 25g
- Sodium: 150mg
- Fat: 20g
- Saturated Fat: 10g
- Unsaturated Fat: 8g
- Trans Fat: 0g
- Carbohydrates: 40g
- Fiber: 1g
- Protein: 5g
- Cholesterol: 50mg
Keywords: Ice Cream Cake, Homemade Dessert, Summer Treat