Introduction to Cheesy Taco Breadsticks
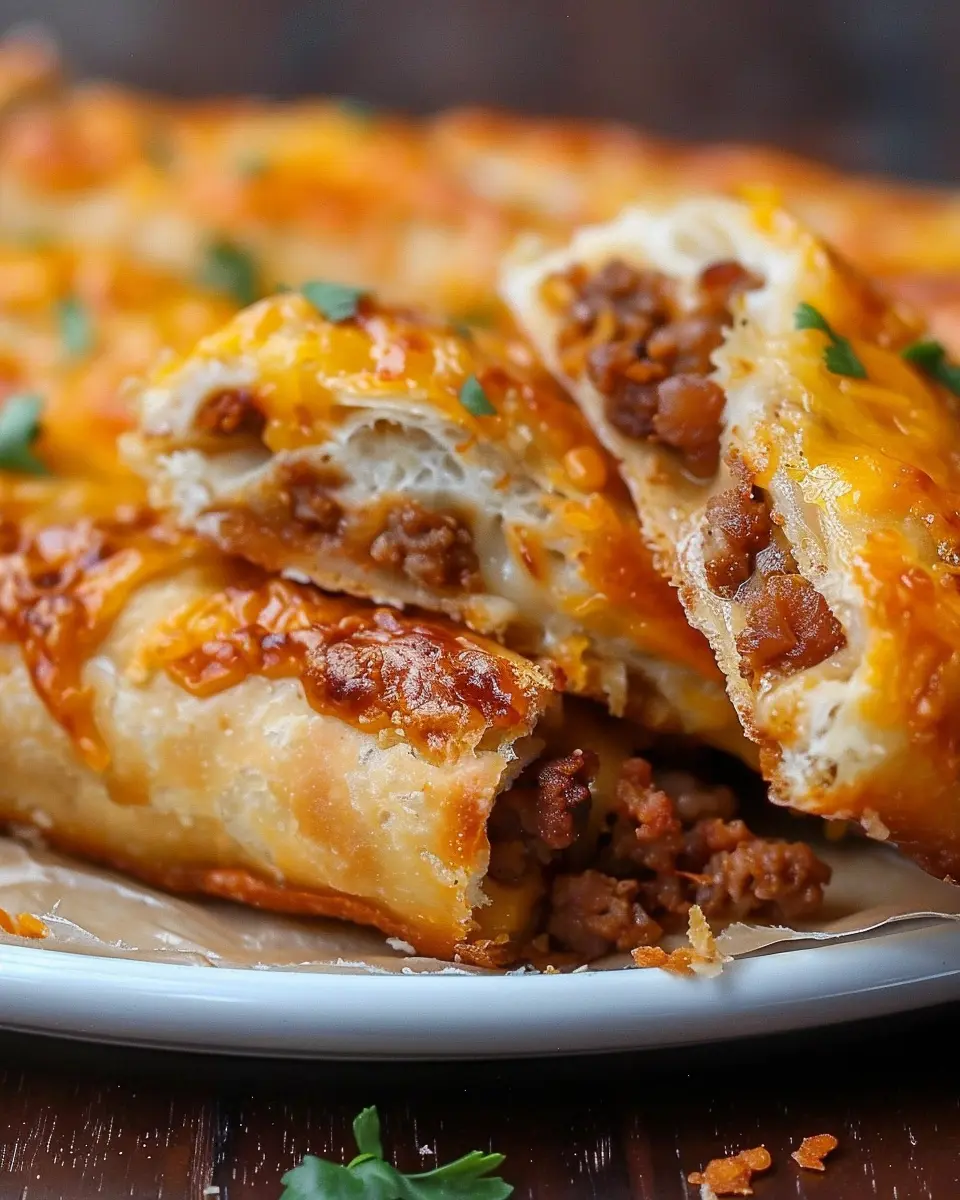
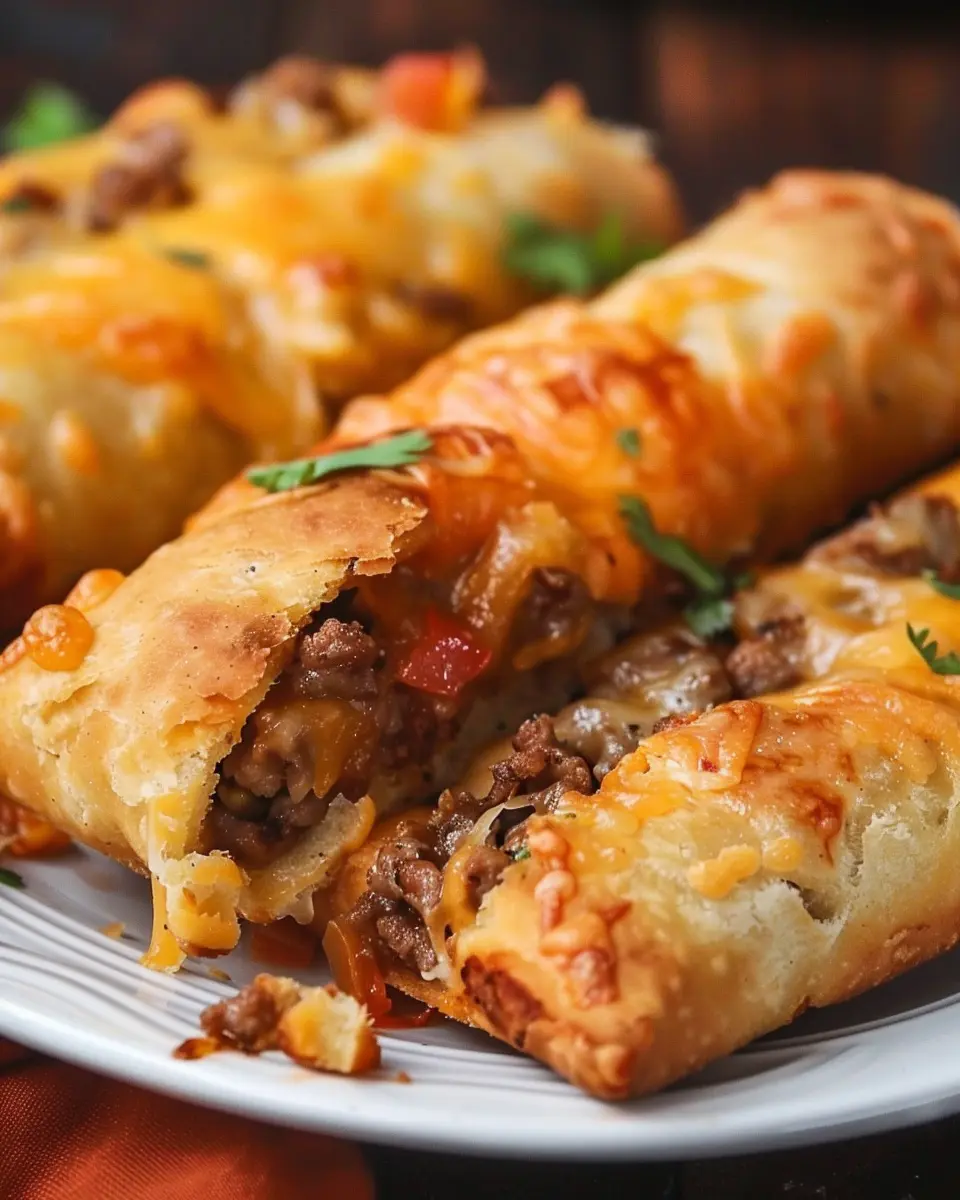
If you’re looking for a snack that perfectly combines flavor, comfort, and a hint of adventure, look no further than cheesy taco breadsticks. These delectable bites are the ultimate fusion of classic taco ingredients wrapped in soft, warm, and golden-brown breadsticks. Perfect for cozy nights in, a gathering with friends, or even a fun twist on movie night, they offer a scrumptious way to satisfy those cravings.
Why Cheesy Taco Breadsticks are the Ultimate Snack
Imagine the aroma of warm bread and savory spices wafting through your kitchen as you whip up your tasty masterpiece. The beauty of cheesy taco breadsticks lies in their versatility. You can make them as cheesy or as spicy as you desire, allowing you to cater to any palate.
-
Flavor Packed: Combining ground beef, turkey bacon, or chicken ham with gooey cheese and those staple taco seasonings is a game-changer. You won’t just be munching on breadsticks; you’ll be diving into an explosion of flavors that’ll have you reaching for more.
-
Quick and Easy: In today’s fast-paced world, convenience is key. With minimal ingredients and preparation time, you’ll spend less time in the kitchen and more time enjoying your creation. Many busy young professionals appreciate recipes that let them whip up something delightful without the long hours.
-
Serve and Share: These breadsticks are not just a snack, they’re a perfect appetizer for your next house party or a fun addition to your family dinners. They’re ideal for sharing—or not, if you choose to keep them all to yourself!
Looking for a light refreshment to pair with your cheesy taco breadsticks? A simple, zesty salsa or guacamole dip complements them beautifully. You can find easy recipes and tips for these dips on reputable cooking sites.
In essence, cheesy taco breadsticks are more than just a dish; they represent a way to enjoy food together, creating delightful memories with every bite. So, roll up your sleeves and get ready to experience this delicious blend of flavors that will undoubtedly become a favorite in your home!
Ingredients for Cheesy Taco Breadsticks
Creating your own cheesy taco breadsticks is not only fun, but it also brings the flavors of taco night into a delightful snack. Here’s everything you’ll need to get started.
Essential Ingredients List
To whip up these delicious cheesy taco breadsticks, gather the following essentials:
- Pizza dough – store-bought or homemade, your choice!
- Beef – seasoned to perfection; ground beef works best.
- Turkey bacon – adds a smoky flavor.
- Chicken ham – for added depth and protein.
- Shredded cheese – we recommend a mix of cheddar and mozzarella.
- Taco seasoning – because tacos aren’t tacos without it!
- Chopped onions and bell peppers – they add crunch and freshness.
Optional Ingredients for Extra Flavor
Looking to elevate the flavor? Consider adding:
- Black olives – they give a briny bite.
- Jalapeños – for those who like a spicy kick.
- Fresh cilantro – adds a pop of color and freshness.
- Sour cream or guacamole as dipping sauces.
These ingredients meld beautifully to create a snack that’s both filling and bursting with flavor. If you’re curious about the nutritional benefits of adding veggies, check out this article for expert insights!
Preparing Cheesy Taco Breadsticks
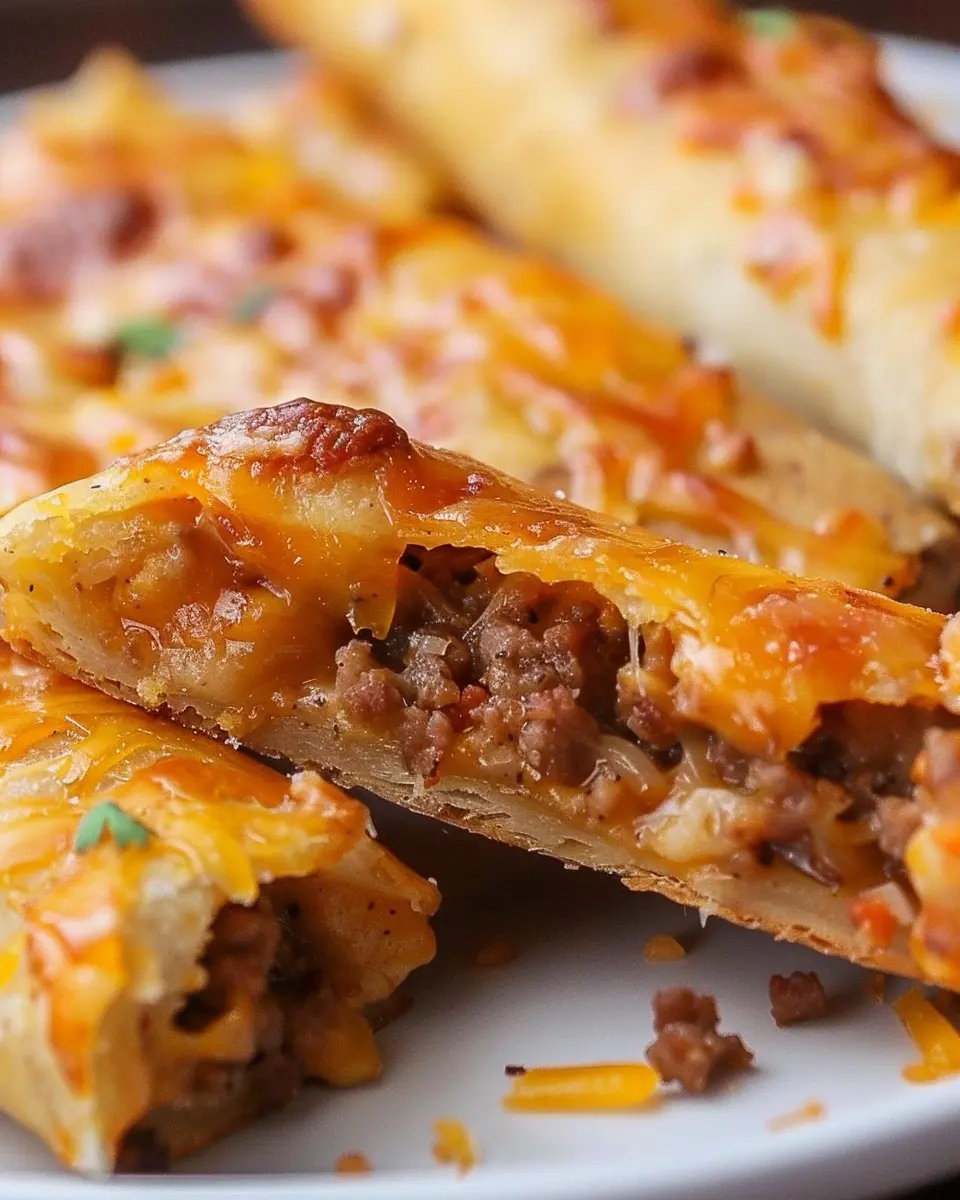
When it comes to comfort food, cheesy taco breadsticks are a delicious blend of two favorites: cheesy goodness and taco seasonings, all wrapped up in a warm, doughy embrace. These tasty treats make for a perfect game-day snack, quick dinner, or party appetizer. Let’s walk through each step to ensure your breadsticks come out perfectly every time!
Gather and Prep Your Ingredients
First things first, let’s get everything organized! Here’s what you’ll need to create these mouth-watering cheesy taco breadsticks:
-
For the filling:
-
1 pound ground beef (you can also substitute with turkey for a leaner option)
-
1 packet taco seasoning (feel free to use homemade if you’re up for it)
-
½ cup diced onions
-
½ cup diced bell peppers
-
1 cup shredded cheese (cheddar or a blend works great)
-
Optional: sliced olives, jalapeños, or any toppings you love!
-
For the dough:
-
1 pound pizza dough (store-bought or homemade)
-
Olive oil for brushing
-
Extra cheese for topping (because who doesn’t want more cheese?)
Start by preheating your oven to 375°F (190°C). While it heats, gather your ingredients and make sure everything is chopped and ready to go.
Cook the Seasoned Beef Mixture
Now that you have everything laid out, it’s time to cook up that flavorful beef mixture.
- In a large skillet over medium heat, add your ground beef and cook until browned, about 5-7 minutes. Use a spatula to break it into small pieces as it cooks.
- Drain excess fat if necessary, then add the diced onions and bell peppers. Sauté for 3-4 minutes until they soften.
- Stir in your taco seasoning along with about 1/3 cup of water. Simmer for an additional 5 minutes, allowing the flavors to meld.
You’ll notice how the aroma fills your kitchen, inviting you to dig in already. It’s a straightforward process, but if you’re curious, this guide on taco seasoning can provide some great insights into making your own.
Prepare the Pizza Dough
While the beef is simmering, let’s focus on the pizza dough. If you’re using store-bought, I recommend letting it sit at room temperature for about 15-20 minutes to make it easier to stretch.
If you’re feeling adventurous and want to make your own, you can find a simple dough recipe here. Just roll out the dough on a floured surface until you have a rectangular shape, about ¼ inch thick.
Fill the Breadsticks with Beef and Cheese
Now comes the fun part—assembling your cheesy taco breadsticks!
- Cut the dough into rectangles, about 4×6 inches each.
- Spoon some of the beef mixture onto the center of each rectangle, then sprinkle a generous amount of cheese on top.
- Fold the dough over to create a pocket, pressing the edges together to seal them. You can use a fork to crimp the edges for an extra seal.
Think about what fillings you love. Do you want to add some black beans or corn? Get creative!
Bake to Cheesy Perfection
Once your breadsticks are filled and sealed, it’s baking time!
- Place the breadsticks on a parchment-lined baking sheet.
- Brush the tops with olive oil for that golden-brown finish.
- Bake for about 15-20 minutes, or until the dough is golden and the cheese is melted.
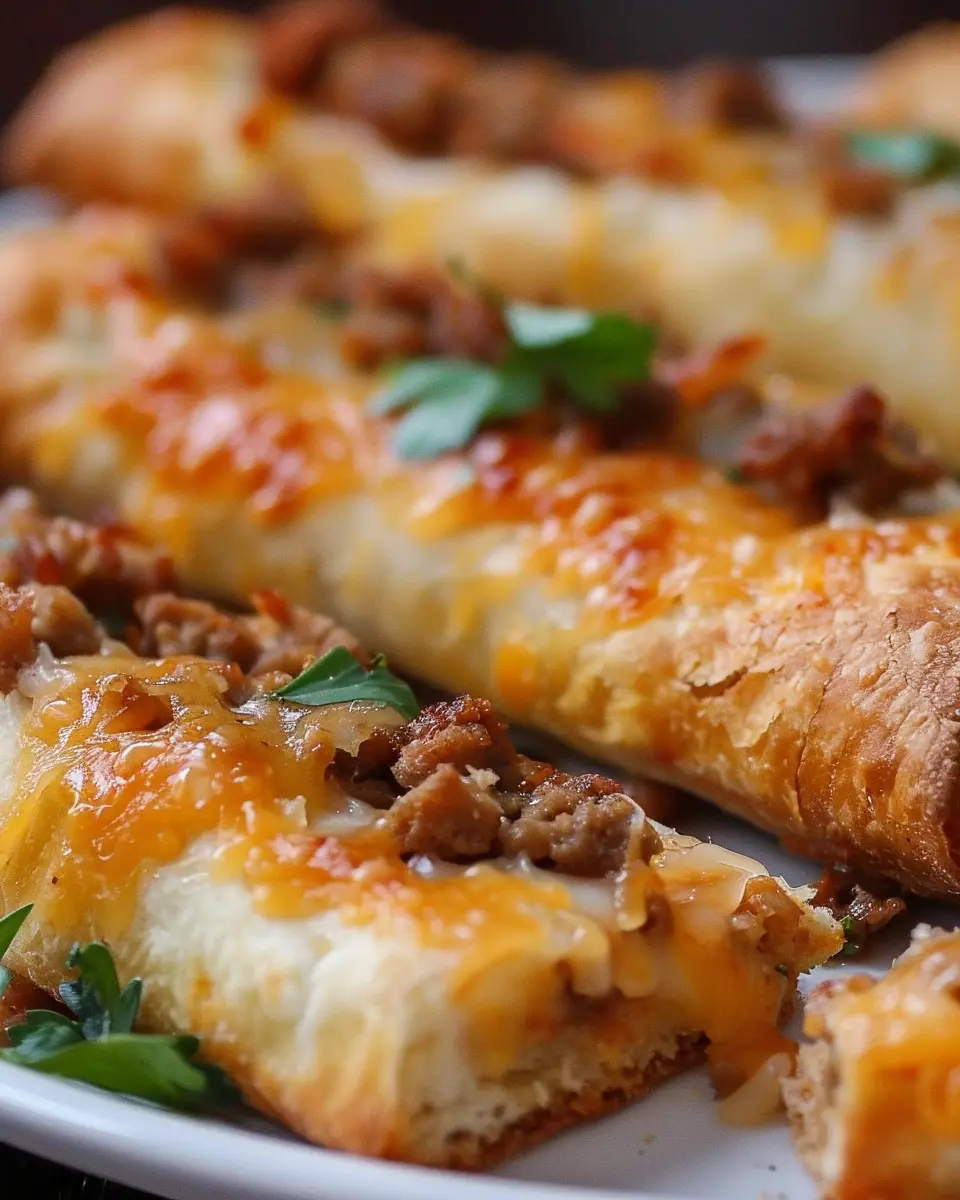
The tantalizing scent will fill your kitchen as they bake! When they’re done, let them cool for a few minutes before slicing. Serve them with salsa or guacamole for a dipping experience that will leave you wanting more.
With these simple steps, you’re on your way to enjoying a plateful of cheesy taco goodness. These cheesy taco breadsticks are not just fun to make; they’re sure to impress guests or brighten up a night in. Enjoy!
Variations on Cheesy Taco Breadsticks
Exploring variations on cheesy taco breadsticks can elevate your snack game to new heights. Whether you’re a vegetarian or a spice enthusiast, there’s a twist for everyone!
Vegetarian Cheesy Taco Breadsticks
Craving a meat-free option? Enter the vegetarian cheesy taco breadsticks, where you can pack all the flavor without the protein!
- Ingredients to add: Use canned black beans or lentils as your base. Mix in chopped bell peppers, corn, and a dash of chili powder for that taco flair.
- Cheese: Opt for a blend of mozzarella and sharp cheddar to achieve that perfect cheesy, gooey texture.
- Dipping sauces: Pair these tasty treats with homemade guacamole or a creamy avocado dip for added satisfaction.
This veggie variation is not just for vegetarians; it’s a hit among everyone looking for lighter fare.
Spicy Cheesy Taco Breadsticks
For those who like to turn up the heat, the spicy cheesy taco breadsticks will surely ignite your appetite.
- Heat sources: Consider adding jalapeños, crushed red pepper, or a spicy taco seasoning blend into your dough for a kick.
- Extra ingredients: To up the ante, include diced turkey bacon or chicken ham for a savory crunch.
- Heating tip: Serve these breadsticks hot from the oven, topped with fresh sliced serranos and a drizzle of spicy ranch dressing for dipping.
The combination of warmth and spicy flavors not only satisfies the taste buds but can also add to the social atmosphere of game night or a casual gathering.
No matter which variation you choose, you’re sure to enjoy these delightful twists on classic cheesy taco breadsticks. Looking for more flavors? Check out this article on creative snack ideas to inspire your next culinary adventure!
Cooking Tips and Notes for Cheesy Taco Breadsticks
Common Mistakes to Avoid
When whipping up your cheesy taco breadsticks, there are a few common pitfalls to steer clear of:
- Overmixing Dough: It’s easy to get excited and overwork your dough. This can lead to tough breadsticks. Mix until just combined for a softer texture.
- Ignoring Preheating: Make sure your oven is fully preheated before baking. This ensures the breadsticks rise properly and develop that golden crust.
- Too Much Filling: While it’s tempting to add extra meat or cheese, too much can make your breadsticks soggy. Stick to the recommended amounts for the best results.
How to Ensure Perfect Baking
To achieve that perfect golden-brown finish on your cheesy taco breadsticks, keep these tips in mind:
- Use a Baking Sheet: Line your baking sheet with parchment paper to prevent sticking and to achieve even browning.
- Watch the Clock: Every oven is different. Start checking for doneness a couple of minutes before the recommended time to avoid overbaking.
- Let Them Rest: After baking, allow the breadsticks to rest for a few minutes. This helps them firm up and enhances the flavors.
By following these simple tips, you’ll impress your friends and family with cheesy taco breadsticks that are perfect every time! For more insights on baking basics, check out The Kitchn’s Baking Basics.
Serving suggestions for Cheesy Taco Breadsticks
Best dipping sauces
When it comes to enjoying your cheesy taco breadsticks, the right dipping sauce can elevate them to new heights. Here are a few options that pair perfectly:
- Salsa: A classic choice, whether it’s mild or spicy. Fresh pico de gallo can also bring a zesty kick.
- Guacamole: Creamy and rich, guacamole balances the cheese wonderfully.
- Sour cream: A dollop can enhance the flavors and cool down any heat.
- Ranch dressing: For something different, creamy ranch adds a unique twist.
Feel free to mix and match sauces to find your favorite combination!
Complementary sides for a complete meal
To create a satisfying meal, consider adding some complementary sides. Think about:
- Mexican street corn (Elote): Grilled corn topped with cheese and spices can be a great accompaniment.
- Refried beans or black beans: These protein-rich beans can help round out your meal.
- Simple salad: A fresh side salad with avocado, cherry tomatoes, and a light vinaigrette can offer a refreshing contrast.
These sides not only complement the cheesy taco breadsticks beautifully but also make your meal feel complete and satisfying. Happy feasting!
Feel inspired? Check out additional serving ideas and tips at The Kitchn, known for their delightful recipes and meal inspiration.
Time breakdown for Cheesy Taco Breadsticks
Preparation time
Making cheesy taco breadsticks doesn’t take much time at all! You’ll need about 10 minutes to gather your ingredients and prepare everything. This is the perfect time to preheat your oven and set the mood with some music or your favorite podcast.
Cooking time
Once they’re in the oven, your delicious breadsticks will be ready in just 15-20 minutes. Keep an eye on them as they bake to ensure that golden crust!
Total time
In total, you’re looking at about 30 minutes from start to finish. It’s a quick and satisfying recipe perfect for a weeknight meal or a cozy gathering. Want to wow your friends? Check out these tips on entertaining with ease to make your evening memorable while enjoying your cheesy taco breadsticks!
Nutritional Facts for Cheesy Taco Breadsticks
When you’re in the mood for something savory and satisfying, these cheesy taco breadsticks are hard to resist. Let’s break down their nutritional profile, so you know exactly what you’re indulging in!
Calories
Each serving of cheesy taco breadsticks packs about 250 calories, making them a hearty yet manageable snack. Perfect for sharing or enjoying solo, they fit comfortably into a busy lifestyle.
Protein
You’ll find around 12 grams of protein in these tasty delights, thanks to the combination of cheese and turkey bacon. Protein is essential for muscle repair and keeps you feeling full longer, making these breadsticks an excellent option for a post-work meal or snack.
Sodium
With approximately 600 mg of sodium per serving, it’s crucial to keep this in mind, especially if you’re watching your salt intake. If you’re looking to lighten up the sodium content, try using less cheese or opting for lower-sodium options.
For further reading on sodium intake and its effects, you can check out resources from the American Heart Association or the Centers for Disease Control and Prevention (CDC).
Enjoy your cheesy taco breadsticks guilt-free by being mindful of your portion sizes and pair them with fresh veggies or a light dip!
FAQs about Cheesy Taco Breadsticks
Can I make these breadsticks ahead of time?
Absolutely! You can prepare cheesy taco breadsticks ahead of time for that smooth dinner flow when you’re busy. Simply assemble the breadsticks, but instead of baking them right away, wrap them tightly in plastic wrap or store them in an airtight container, and refrigerate. They’re best enjoyed within a day or two, but if you want to save time on a busy weeknight, you can even freeze them! Just ensure you bake them from frozen; it might take a few extra minutes in the oven.
What can I use instead of ground beef?
If you’re looking for alternatives to ground beef, the options are plenty! Ground turkey or chicken offer a lighter take while still being flavorful. For a vegetarian version, consider using cooked lentils or beans seasoned passionately with taco spices. Crumbled tempeh can also serve as a delicious protein-rich substitute that soaks up the flavors beautifully.
How do I store leftovers?
Storing those delicious leftovers is a breeze! Once your cheesy taco breadsticks cool down, place them in an airtight container. They can chill in the fridge for 3-4 days. If you’re looking to enjoy them longer, consider freezing them. Just remember, when reheating, a quick blast in the oven or toaster oven will revive that crispy goodness, rather than microwaving, which might make them soggy. Need more tips? Check out this guide on food storage.
Whether you’re enjoying them fresh or prepped in advance, these cheesy taco breadsticks are sure to become a staple in your kitchen!
Conclusion on Cheesy Taco Breadsticks
Final thoughts on enjoying homemade snacks
As we wrap up our journey into the world of cheesy taco breadsticks, it’s clear that homemade snacks are not just about satisfying cravings—they’re about bringing joy and creativity into your kitchen. Making these delightful breadsticks is a fantastic way to elevate your snack game, whether you’re hosting friends or simply indulging in a cozy night in.
Experiment with different fillings, like turkey bacon or chicken ham, to customize your experience. The beauty of homemade snacks is that you can tailor them to your tastes. Plus, you can enjoy the guilt-free satisfaction of knowing exactly what’s in your food. So grab your ingredients, get cooking, and let the deliciousness unfold!
For more inspiration on inventive bites, check out BBC Good Food or Taste of Home for ideas that resonate with your culinary spirit.
Print
Cheesy Taco Breadsticks: The Best Indulgent Treat for Home Chefs
Indulge in these Cheesy Taco Breadsticks, a delightful recipe perfect for home chefs looking to add a cheesy twist to their meals.
- Total Time: 30 minutes
- Yield: 4 servings 1x
Ingredients
- 1 package taco seasoning
- 1 cup shredded cheese
- 1 tube refrigerated breadstick dough
- 1 pound ground beef
- 1 egg
- 1 tablespoon water
Instructions
- Preheat the oven to 400°F (200°C).
- In a skillet, brown the ground beef over medium heat until fully cooked.
- Stir in the taco seasoning and water, mixing well to combine.
- Roll out the breadstick dough and cut it into strips.
- Place a spoonful of the beef mixture on each strip and sprinkle with cheese.
- Fold the dough over the filling and twist it into a breadstick shape.
- Place on a baking sheet and brush with the beaten egg.
- Bake for 12-15 minutes or until golden brown.
Notes
- For extra flavor, consider adding diced jalapeños or olives.
- Serve with salsa or guacamole on the side.
- Prep Time: 15 minutes
- Cook Time: 15 minutes
- Category: Appetizer
- Method: Baking
- Cuisine: Mexican
- Diet: Vegetarian
Nutrition
- Serving Size: 2 breadsticks
- Calories: 250
- Sugar: 1g
- Sodium: 500mg
- Fat: 15g
- Saturated Fat: 6g
- Unsaturated Fat: 8g
- Trans Fat: 0g
- Carbohydrates: 20g
- Fiber: 1g
- Protein: 10g
- Cholesterol: 40mg
Keywords: Cheesy Taco Breadsticks